
Hi bloggers! Hope you all had a great weekend!
Thanks for all the comments and emails!
Thanks for all the comments and emails!
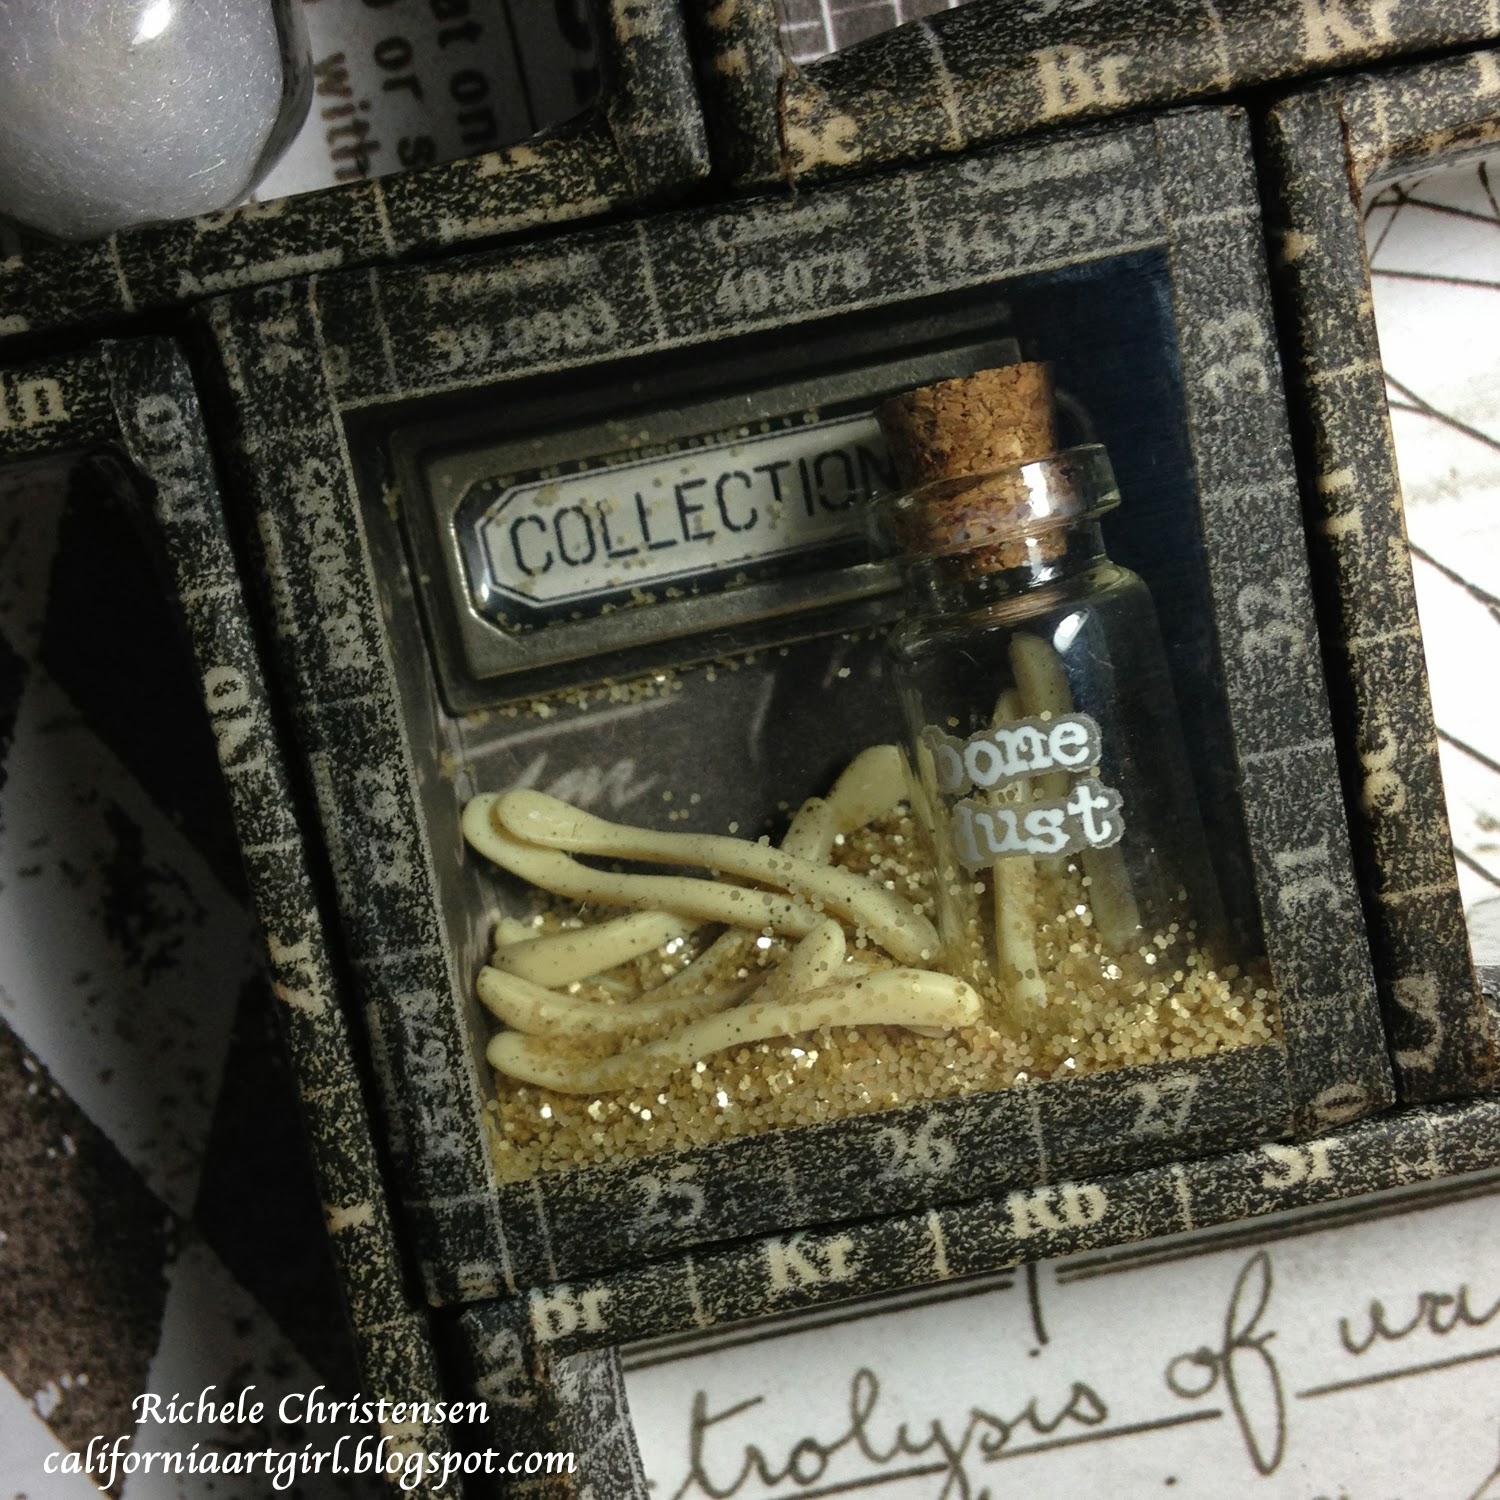
This little box was inspired by the Apothecary Remnant Rubs. I saw bone dust and knew is had to be a shaker box.

Here's a few supplies you'll need.

Use the smallest Corked Vail for the bone dust. Rub the words onto the vail.

Cut 5-6 wishbones in half with scissors.

Sand the area that was cut with the Sanding Grip.

Add 3-4 bone pieces to the vail. Add a little Antique Linen Distress Glitter.

Adhere the cork to the bottle.

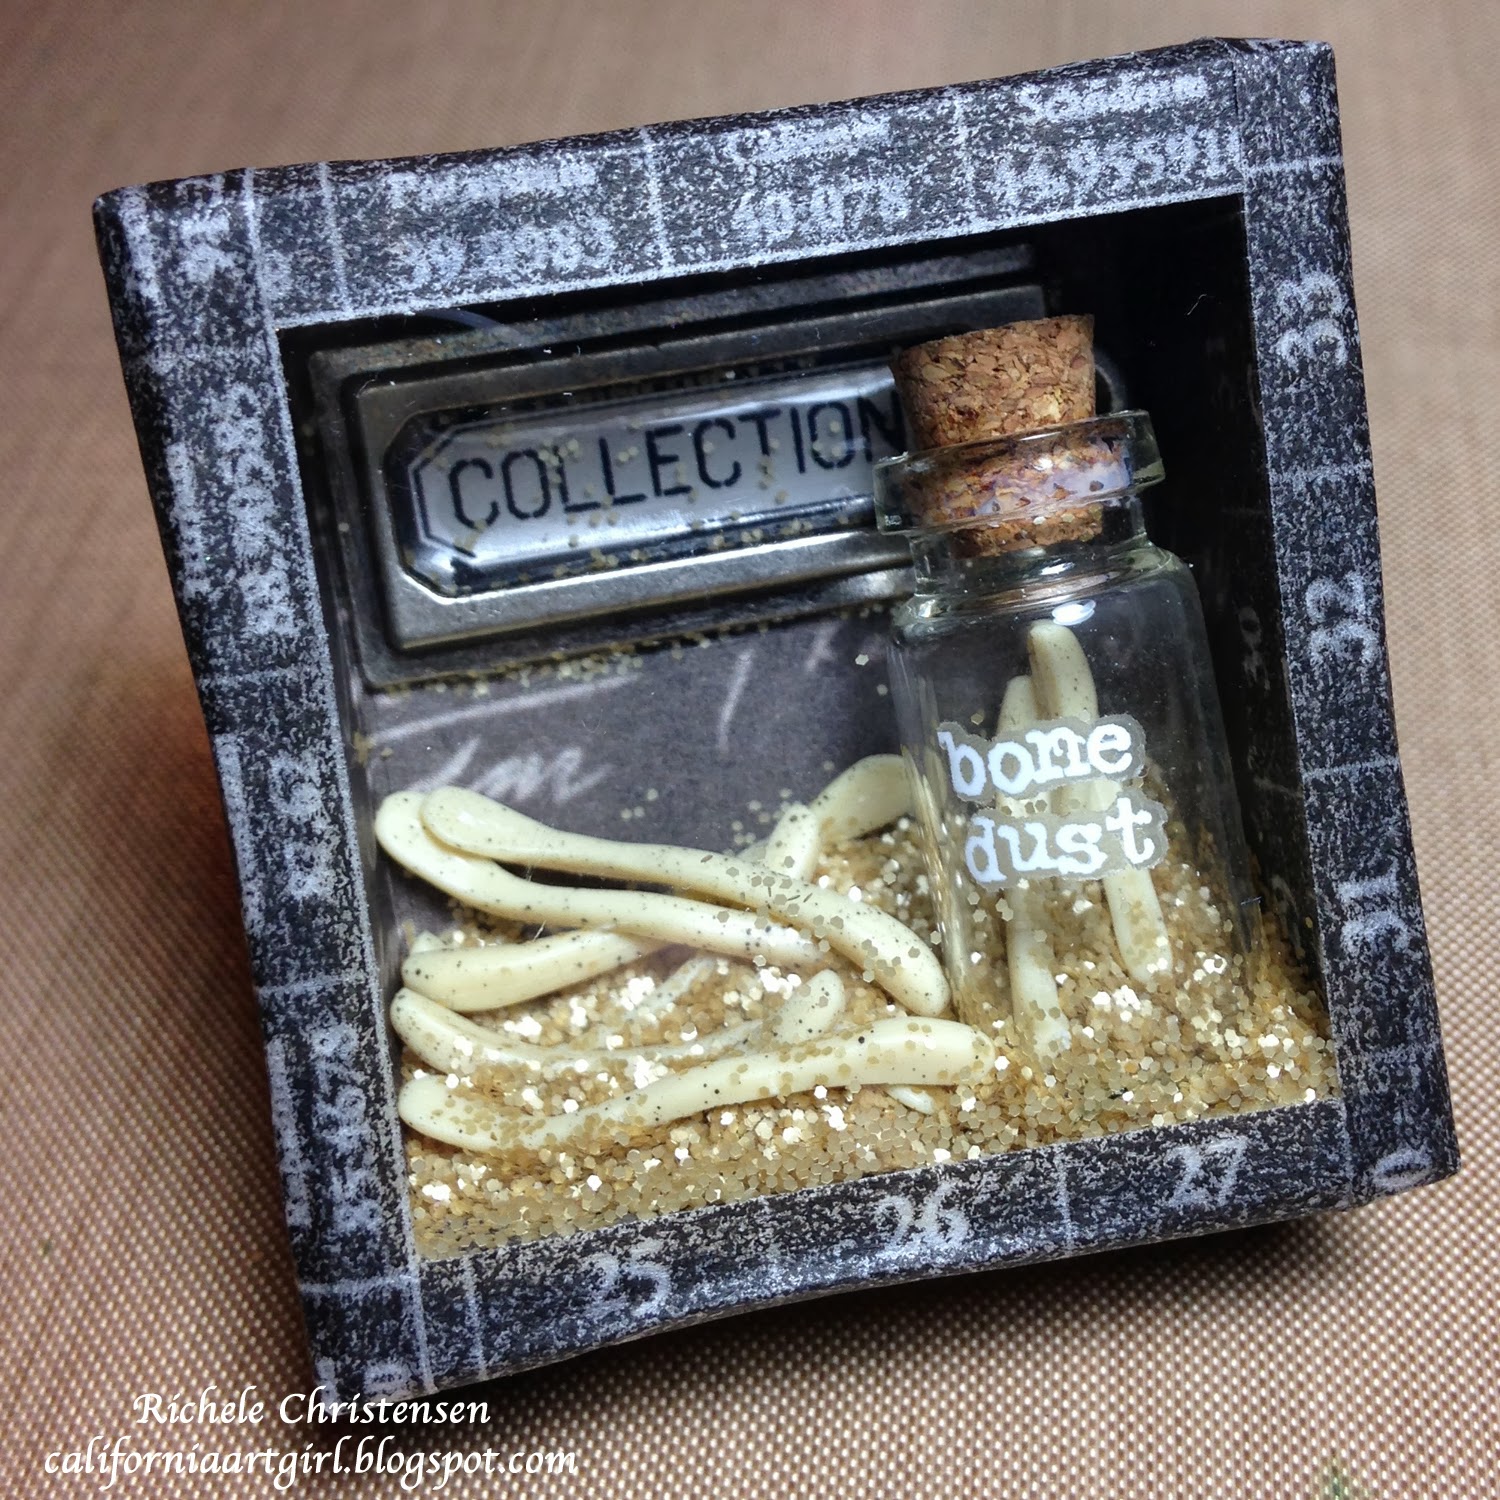
Adhere the tag label to the back of the box. Adhere the vail to the bottom of the box. Wait for this step to dry completely or the bone dust will stick to the wet glue.

Cut a piece of acetate for the front of the box. It should be just a little smaller then the size of the box. I added a little piece of tissue tape to help me maneuver the piece while adhering it to the box.

Add a little antique linen Distress Stickles with the bones. Less is more.
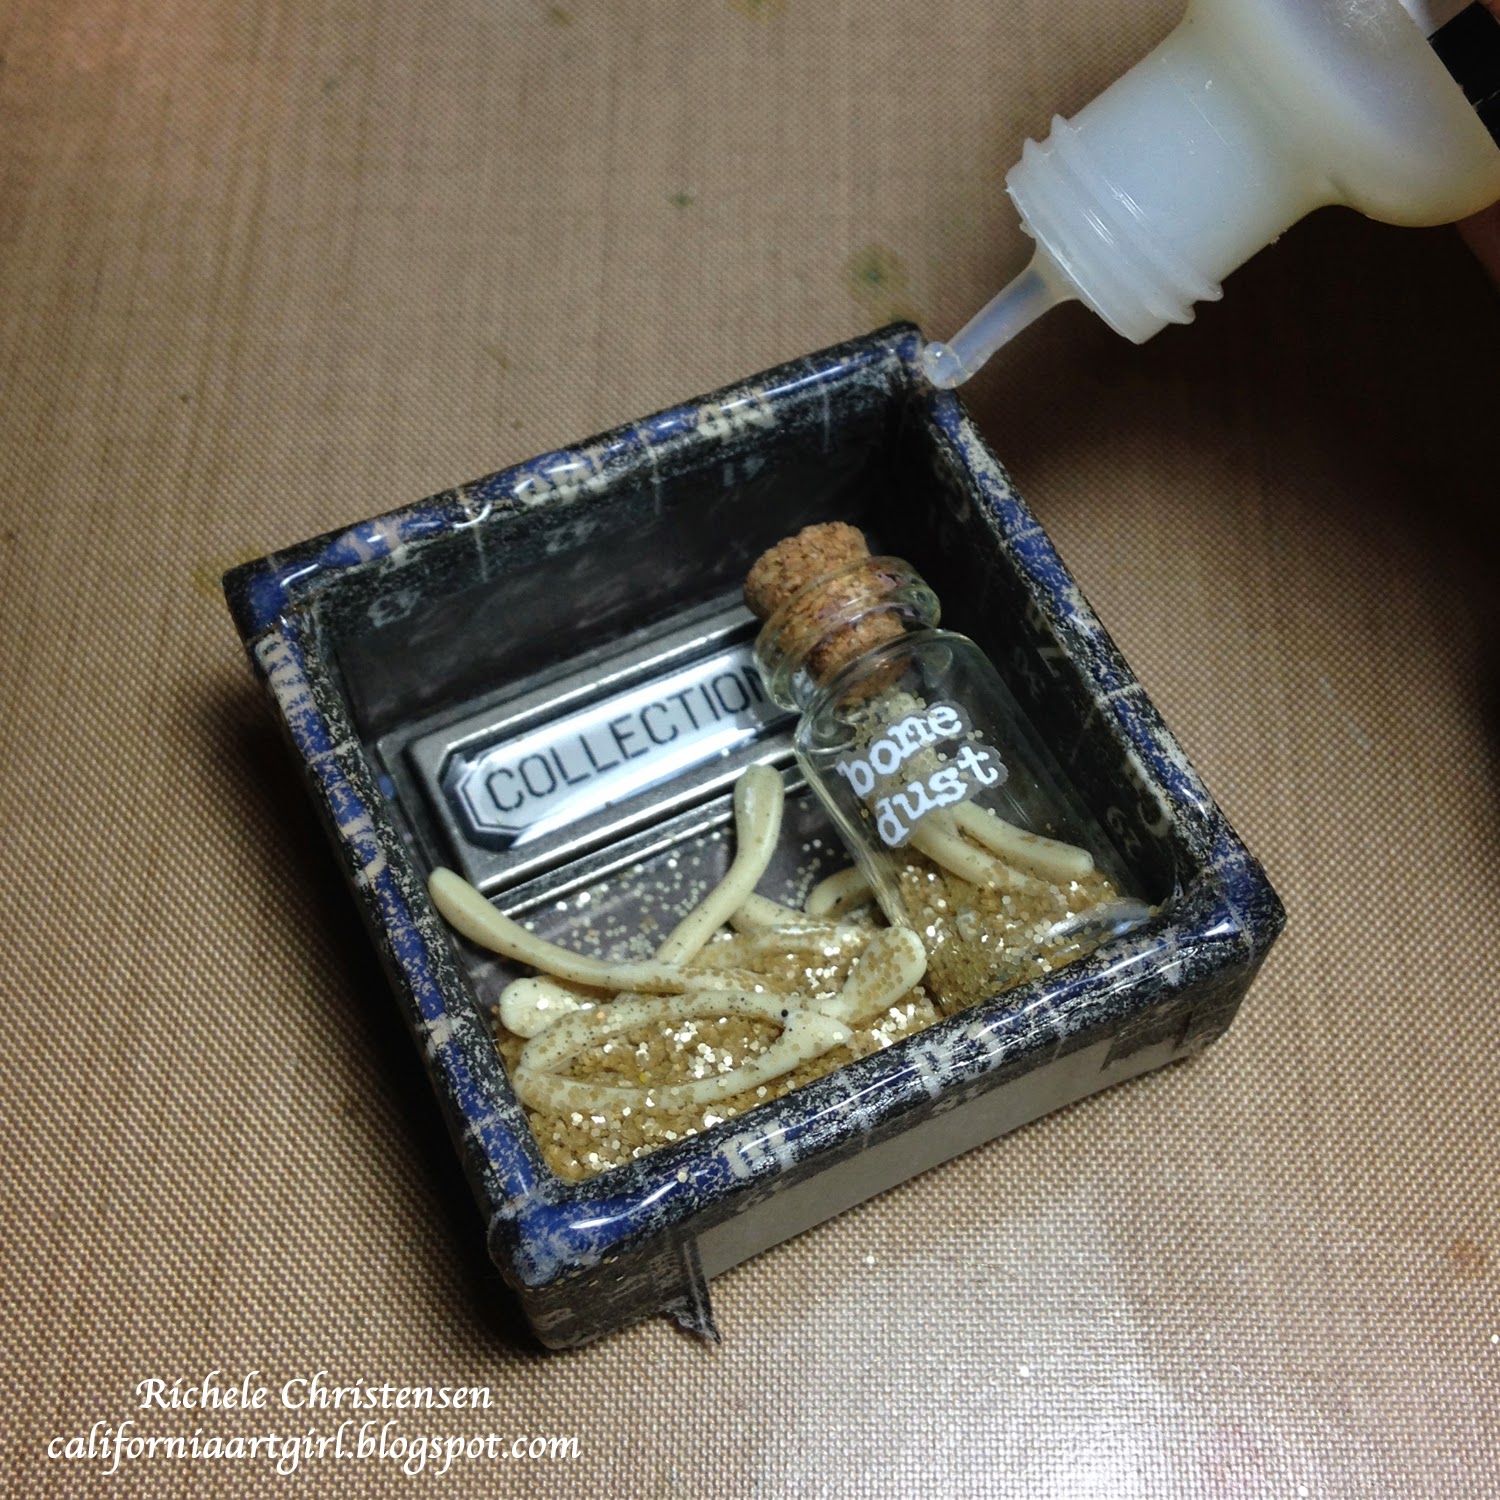
Apply Glossy Accents all the way around the outer rim of the box.

Place the acetate over the box. Careful not to get any excess Glossy Accents on the acetate.

Add tissue tape all the way around the perimeter. I added a little Matte Multi Medium to help secure the tissue tape.
You are making great progress!
Thanks for stopping in!
I'll be back on Thursday for Part 5....which section will it be? Can you guess??
Richele
Check your local craft store or click on the links below.
 |  |  |  |
 |  |  |  |
 |  |  |  |
 |  |  |  |
 |  |  |  |
 |  |  |  |
 |  |  |  |
 |  |  |  |
 |  |  |  |
 |  |  |  |
 |  |  |  |
 |  |  |  |
 |  |  |  |
 |  |  |  |
 |  |  |
10 comments:
Richele, the little bone shaker is just fabulous! I am two posts behind with my creation but it is the most fun I have had for ages, loving every minute of it! Anne x
Wow, wow, wow!
Brilliant, Halloween bone shaker with sparkle dust!
Brilliant, Halloween bone shaker with sparkle dust!
This is so great! I love the BONE DUST!!!!
You must have very athletic fingers. What a great little itty bitty box!
I love the step by steps - in the pictures you can't see the details - like who would have known that this was a shaker box! Love the project and thanks for all the fabulous details!
Had a lot of fun making this little box. Of course, I had to make a few substitutions. I didn't have the little wish bones, so I stamped a bunch of bones from Dylusions Mischievous Malcom stamp set onto grunge paper with brown archival ink. To get an old bone color, I used Distress Markers in the lightest, most neutral colors and then went over them with the Picket Fence marker. Perfect! For the bone dust, I used Cathie Filian's ultra fine glass glitter Champagne color (maybe a little too fine for bone dust, but a very nice color). Used Tarnished Brass Distress Stickles for the graveyard bone goo. It's a nice, spooky color. Such a little box, so much fun, so cool-looking.
Oh, by the way, I found the perfect spot for drying my little projects. On top of the narrow medicine cabinet in the bathroom. It's right under the bright make-up lights, near the non-windy vent fan, and out of reach of kitty. Not recommended immediately after showering.
YOU BLOW ME AWAY WITH YOUR CREATIVITY! You are truly a MASTER of the configuration box, Richele. Your bone dust compartment is absolutely adorable and so original! I love ALL of it...down to the very last piece of wrapped tissue tape! <3 Candy
Post a Comment