Saturday, June 15, 2024

NEW Distress Spritz by Tim Holtz

 Hello friends! Drumroll please. The NEW Distress Spritz by Tim Holtz are here. 

When I opened the box I was ready to dive in and see what they would do. First I did some swatching, then some coloring and finally some backgrounds. The shimmer is like no other sprays I've tried. 

They are pretty amazing! The pearl is like no other product i've used. 

Here's a peek at some of the finished cards I made. 

Swatching is so useful when it comes to a new product. I used Watercolor cardstock for my swatches. Each color swatch has the Spritz and the Spritz over the corresponding color. 

COLORING A STAMPED IMAGE
I first stamped with Archival Ink using a Stamping Platform. This is important because I want to stamp over the image once I have colored it. So being able to reposition it after coloring is important. I colored the dragonfly image with Distress Ink using a Waterbrush. 

Next I colored over the same color with the Distress Spritz. The spray if very fluid and easy to use. Shake the Spritz well and then spray some on to your work surface. Pick up the Spritz with a Waterbrush and paint over the same color. Dry with a heat tool between layers. 

Stamp the image again to bring the detail back. I only inked the dragon fly agin.

I added a little splatter in the background with what was left on my work surface. 

Look at all that shimmer!

Another sample of coloring.


STAMPING WITH DISTRESS SPRITZ
I wanted to see if you could use the Spritz on a stamp. First stamp the image with Distress Ink and a little spray of water. The water will give it a watercolor effect. Now paint the stamp with the same color of Distress Spritz and stamp over the ink. I love how the Distress Spritz adds a layer of sparkle. 

BACKGROUNDS
Just look at those amazing colors. I sprayed Distress Spray Stain first and the added the Distress Spritz over the top. I added a little water on top to make sure the colors blended well. 

I wish you cold really see how shimmery it really is. The photo doesn't do it justice. 

and I had to experiment with black cardstock too. Over the black cardstock I only used the Distress Spritz, there is no ink underneath. 


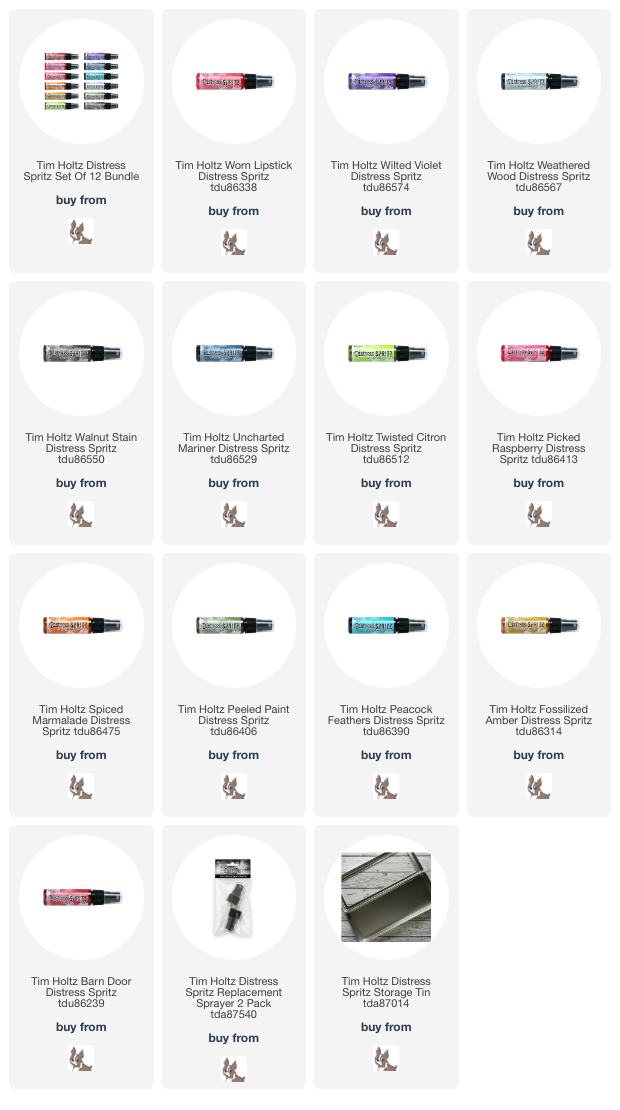
12 DISTRESS SPRITZ COLORS
Worn Lipstick
Picked Raspberry
Barn Door
Spiced Marmalade
Fossilized Amber
Twisted Citron
Peeled Paint
Peacock Feathers
Weathered Wood
Uncharted Mariner
Wilted Violet
Walnut Stain

DO YOU HAVE A FAVORITE COLOR?

I can't wait to play more, the possibilities are endless. 
Thanks for stopping by!
Richele

See the whole collection of Distress Spritz below

Thursday, May 23, 2024

Fairytale Clipboard

Hello friends! I'd like to share another make from the 
NEW Tim Holtz Idea-ology release.

The foundation of the Clipboard was cover with Paper Strips after a sewed along the edge. 
The Layer Frames - Montage with the fun stitching was perfect for the base of the Paper Doll Poses. 

The sweet Paper Doll for the new poses was colored with Distress Crayons then I added a little vintage lace on her hem, a ribbon at her waist, a small bow at the color and the wand in her hand. I also added some wings behind her. 

The clip at the top was painted black and accented with Gold Metallic mixative. The Sweetheart Adornment pack has these darling embellishments also colored with Gold Metallic Mixative and accented with Black Distress Crayon. 

The word band is from the new Typed Tags pack. You can fill the letters with the Picket Fence Distress Crayon so they stand out. The tied it around the clipboard with a bow. Don't forget to add a piece of Vintage Lace under the edge. 

The Salvaged Hearts are a lovely accent I also colored it with Foundry Wax then rubbed it with Steel Wool for an aged look. Around the bow I added some flowers (bouquet) and vintage buttons. The little flowers are died with Distress Ink and the centers are carefully painted with Gold Metallic Mixative. 

You can see a green stamp for the Postmark Sticker Book in the upper right. 

The New Idea-ology release has so many amazing items to use on a variety of projects. On this project my favorite are the Paper Strips. 

Thanks for stopping by!
Richele

Here's all the project for the new release....
 

Monday, May 20, 2024

NEW from Tim Holtz and Tonic Studio. the RECOIL SNIPS and SCISSORS!

 Hello friends! Have you seen the NEW Recoil Scissors from Tim Holtz and Tonic Studios. I love the spring tension and the sharpness of the scissors. They even come with a stronger spring if you prefer a faster rebound. The latch can easily be released with your thumb when using. 

The Recoil Scissors come in two sizes, a 9.5" and a Mini with a 2" blade perfect for everything. 

 I put the Recoil Scissors through several test and it did not disappoint. I cut from thin tissue, some accetate, cardstock and even chip board with ease. Fussy cutting was a breeze with the smaller snips! The long blade of the larger scissors were nice for cutting big pieces of cardstock. 

I am a fabric lover so I had to try these beauties on some fabric and cutting thread. They are very handy with the spring loaded handles for snipping thread while sewing. 

CHANGING THE SPRING


The Spring is easy to change. Just squeeze the spring portion together with your fingers to release and then slip the new spring in one side then the other. Super easy. I do like the stronger spring for a faster rebound. 


Tim Holtz has several scissors from Tonic Studios. Just look at all of them.

Titanium Snip Scissors 7" blade

Craft Mini Snip Scissors 5" blade

Craft Sheer Scissors 9.5" blade

Haberdashery Scissors 6" blade

Haberdashery Scissors 5" blade (not shown)and now 

NEW Recoil Scissors 9.5" blade

NEW Recoil Mini Scissors 2" blade

and a collection of LEFT handed Scissors


Thanks for stopping by!

Richele


SEE ALL THE SCISSORS BELOW...

Saturday, May 18, 2024

Wander Etcetera Tag

Hello friends! Today I'm sharing an Etcetera Tag I made using the new Tim Holtz Idea-ology release. There are so many amazing new products. 

Here is my "Big Adventure Tag". Here are a few of my favorite products on this project. 
Just look at all those gorgeous stamps in the background from Postmarked.

I loved this little Trophy Cup Figure Stands it's so cute.  

This handsome guy is from the Paper Doll Posed and he's holding a new Optic Frames. 
The words are from the new Typed Tags and I had to add some Screw Heads to finish it off. 


I also added the pointy finger from the previous Figure Stands.

The new Mini Stencil Chips are illuminated with the word Wander. 
I also used a sheet of Cello Tape that was cut to fit behind the letters. 

So many AMAZING new products. I can't wait to make my next project. 

Thanks for stopping by!
Richele


HERE ARE THE NEW PRODUCTS......

Tuesday, February 27, 2024

COLORBLOCK - Triangle Pillow

Hello! The COLORBLOCK fabric designed by Tim Holtz for FreeSpirit Fabrics ins't just for blocks of color you can also make triangles. And before you say no way it's not as bad as it seems. Paula Cheney had this great idea! What if you makes strips and sew them together to make the triangles. She's brilliant! 

I used the COLORBLOCK Canvas Cloth. The canvas is very soft and easy to sew. 

I cut the strips measuring 1/4" beyond the points of the design for the seem allowance. There I a bit of waste but you can use them for something else later. As you start to piece things together be sure to pin at the points so they match up. Your seam allowance will be 1/4" and please press the seems open. 

You can see the browns and pinks strip has the 1/4" cut past the points. Keep in mind that the strip is not going to be an exact measurement throughout the strip. This will all works out, trust me. 

Continue sewing the strips together until you have approximately 16 1/2"wide give or take. 
Cut a square approximately 16 1/2" and press lightweight woven interfacing the back, 
I used Pellon SF101. Layer pillow top with batting and backing like your making a quilt. The backing will not show so something like muslin will work great. 

Quilt as desired through all the layers. I chose diagonal quilting with a medium dark blue thread. 

Create the pillow as you wish using pipping or binding around the perimeter.
Enjoy your pillow!. Happy sewing! 

Thanks so much for stopping by!
Richele 

Saturday, February 24, 2024

COLORBLOCK - Firefly Tote

Hi friends! Today I'd like to share the Firefly Tote I made for the Tim Holtz COLORBLOCK release. You can catch this on Tim's Chanel. The Firefly Tote pattern is by Anna Graham and her company is Noodlehead. I love her patterns they're very refined and the details are nice. She has a videos on YouTube of most of her patterns. I choose a heavy denim for the base of the tote and paired it with the COLORBLOCK - Tiled by Tim Holtz for FreeSpirit Fabrics.

Firefly Tote 
pattern by Noodlehead
fabrics COLORBLOCK by Tim Holtz
photo by Tim Holtz

The top of the bag has a drawstring closure.

You can also push the drawstring portion inside the bag if you prefer. 

The front has a zipper pocket and a slip pocket above the zipper. 

Inside there is another pocket. The pocket is in Crimson Provisions and the lining is Denim Provisions fabric also from Tim Holtz. 

Leather handles that have been riveted on for extra strength.  

If you're looking for a little bit of fabric Simon Says has a couple bundles.
If you'd like some yardage Whim-So-Doodle has Yardage and they ship fast! 

Happy Sewing and thanks for dropping by!
Richele


If you'd like some yardage Whim-So-Doodle has Yardage and they ship fast! 

Happy Sewing and thanks for dropping by!
Richele