I hope you all had a fabulous Easter! We spent most of the day with family! My grandchildren were so excited for the Easter Egg Hunt finding eggs, candy and treasures… oh to be young again!

Trinkets and Treasures Tag!
I'm so excited to be a part of the Inspiration Emporium Easter Hunt. You can find all the detail over on their blog. It's not too late to join in and Inspiration Emporium is giving away THREE spots for this incredible online class Watercolor for Card Makers with Jennifer McGuire and friends!!!
This class looks AMAZING!

All you need to do is play along for a chance to win!

Gather some supplies:
Tim Holtz Stamps
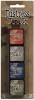
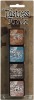
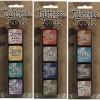
Tea Dye Distress Ink
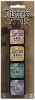
Tumbled Glass Distress Marker
Tattered Rose Distress Marker
Tumbled Glass Distress Stain
Tattered Rose Distress Stain
Timepieces
Tissue Tape
Trimmings: Crinkle Ribbon
Trinkets: ChitChat, Foliage, Memo Pin
Treasures: Detail Water Brush, Jet Black Archival Ink, Ink Blending Tool, Watercolor Cardstock

Stamp the little girl twice from the Winged Things 1 set with Jet Black Archival Ink onto Watercolor Cardstock. Color with Distress Markers and blend with the Detail Water Brush. Cut her out with scissors. Ink the edges with Tea Dye Distress Ink on an Ink Blending Tool.

Create the background on you tag with the wrinkle free technique. Apply Tumble Glass and Tattered Rose Distress Stain directly to your Craft Sheet. Mist with water and swipe Tag through the ink. Dry tag and repeat until desired look is achieved. Stamp the Damask with Tea Dye Distress Ink. Ink the edges with Tea Dye using an Ink Blending Tool and add a few pieces of Tissue Tape.

Color Crinkle Ribbon with Tumble Glass Distress Stain applied directly to your Craft Sheet. Mist the Crinkle Ribbon and pick up the ink with the ribbon. Add a little Tea Dye Distress Ink to give the Crinkle Ribbon a vintage look. Dry the ribbon with a heat toll and as it dries scrunch up the ribbon for that crinkled look. Tie a big bow to the top of the tag.

Add the TIme Piece and Foliage to the tag. I flattened the flower with a hammer.
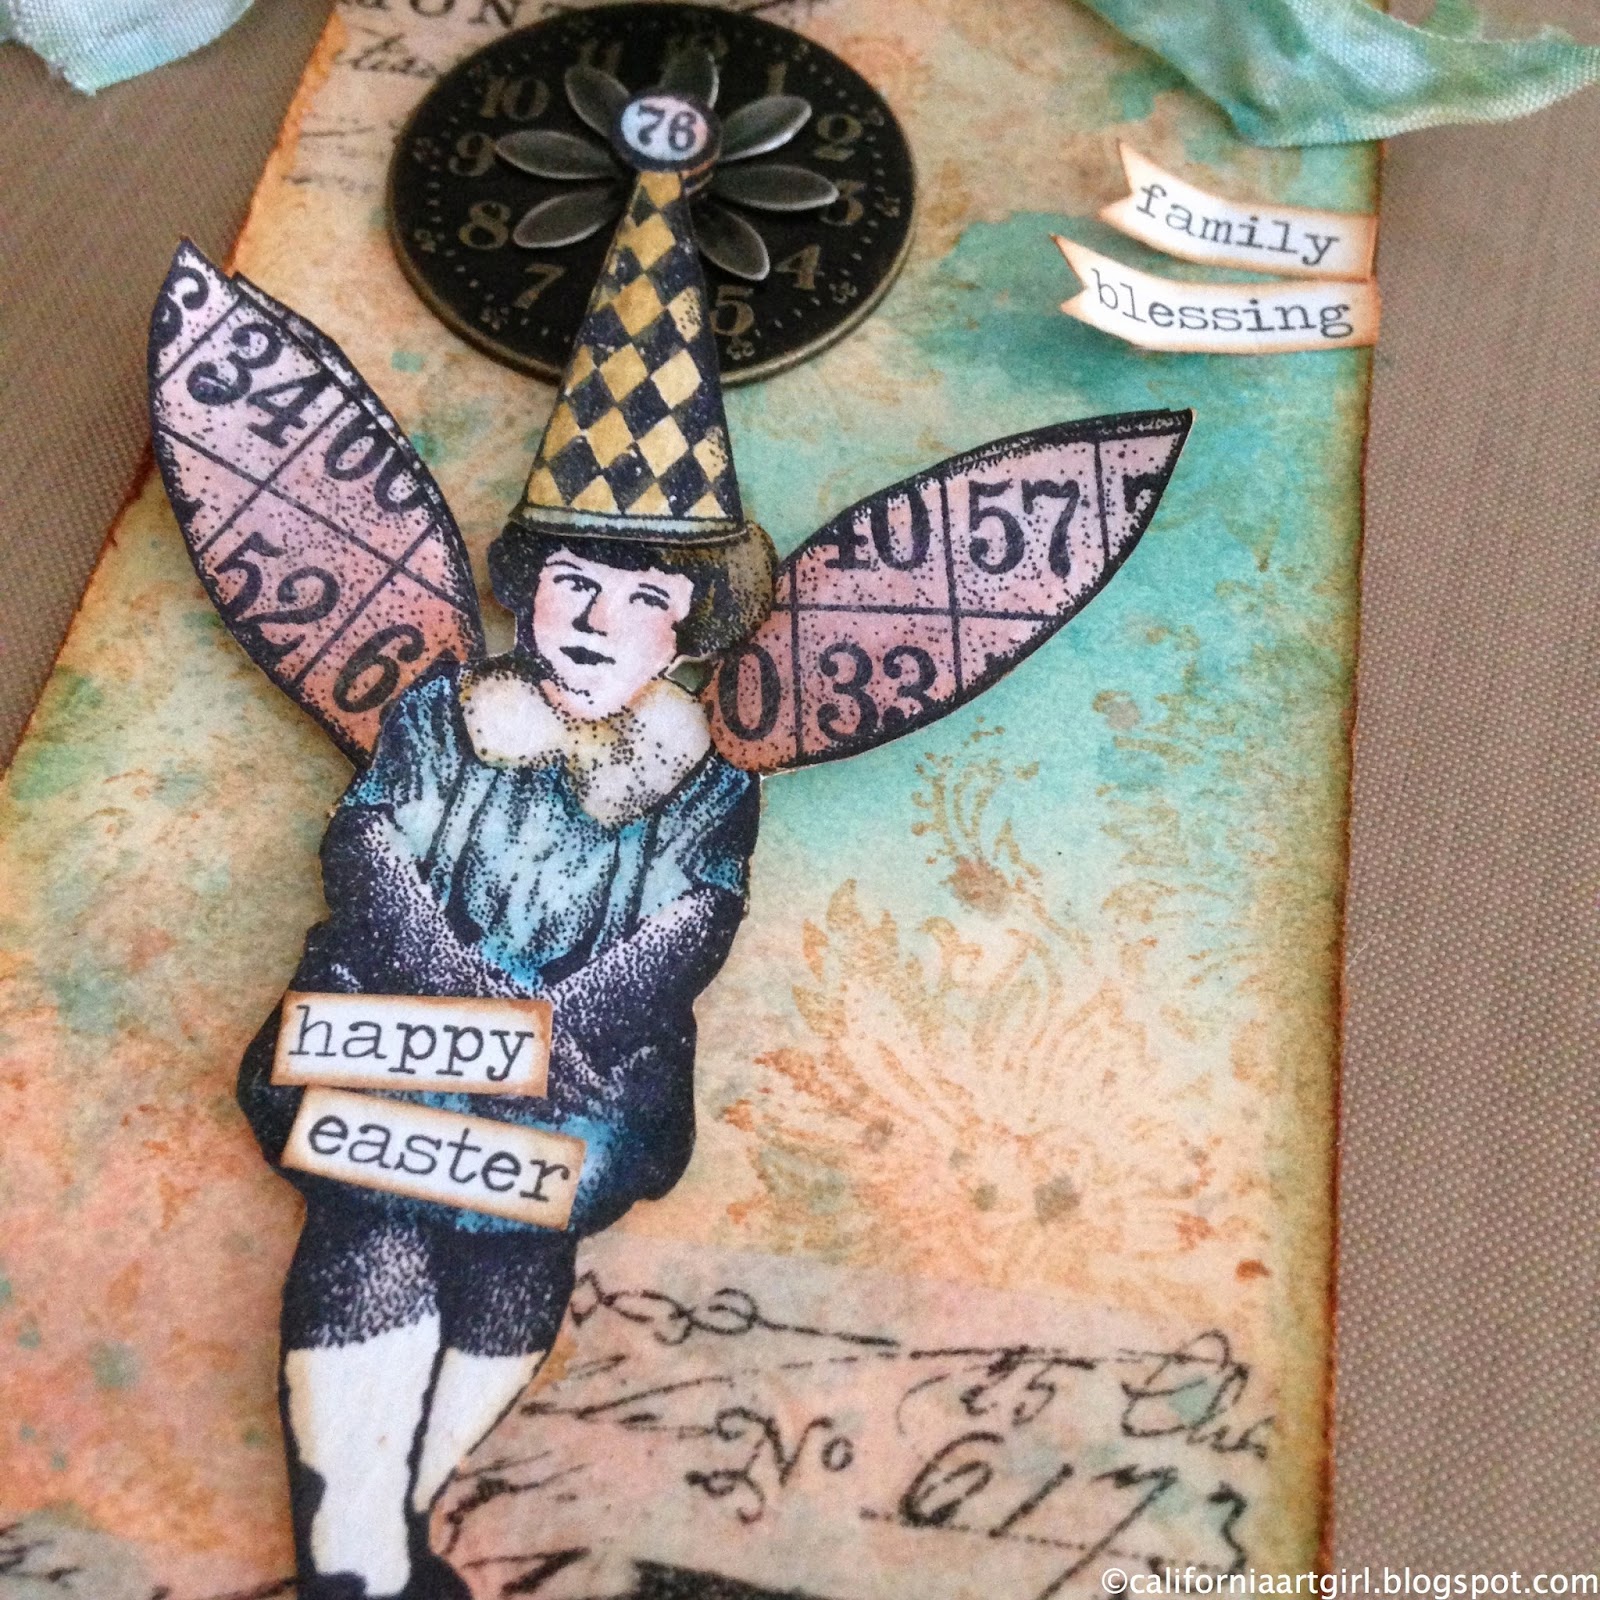
Attach the little girl to the tag with foam tape. Choose some Seasonal ChitChat. Trim as desired, ink the edges and adhere to tag.

Attach the Foliage Flower and Leaf to a Memo Pin and add to Tag.

Well have you guessed what letter I have. Yes it a "T". I tried to use products that started with the letter "T". I don't think I would have put these colors together, but I do love how my project turned out.
Now you have collected your next letter HOP over to Heather's Facebook page to continue on the journey! Remember it's not to late to get started find all the details here. Don't forget to leave a comment before you leave.
Thanks so much for hopping by!
Enjoy your day and good luck!
Richele