Friday, December 4, 2020

Winter Wishes Card - Tim Holtz Cardinal Die Set

Hello friends and happy DieCember! I'm so excited to be part of the Simon Says Stamp DieCember using the exclusive Tim Holtz Cardinal Die Thinlits set. The Die is only available on Simon Say Stamp! I decided to create the Cardinal out of nontraditional colors to show the versatility of die cutting. 

Don't you just love all the different textures from the stamped background to the sparkly snowflake, the beautiful winter greens and the handsome bird. 

I started with the background piece. Cut a piece of Distress White HeavyStock to 3 3/4" x 5 1/2". Spray piece with water, then spray with Distress Oxide Spray in Antique Linen, Iced Spruce and Speckled Egg and dry with heat tool. I have used all Oxide Inks for a softer look but you could also use dye inks if you like things brighter. 

I added some over stamping in the same/similar colors I sprayed the background in to add a little bit of texture. The new "The Poinsettia" Stamp set CMS426 from Stampers Anonymous will be perfect. I love this set as it has lots of stamps that are great for adding to backgrounds. The music notes, script, swirls and the little specks are perfect for snow. 

Did you know that the Distress line now has Heavystock in new different colors? The white is ideal for clean backgrounds and brighter colors and who doesn't love Kraft!

Cut a piece of Distress Kraft HeavyStock 9" x 6 1/4", score and fold in half for the card base. Add a little Picket Fence Distress Paint to your Glass Media Mat and spread out a thin layer with your finger. Pouce the stamp into the paint and then stamp on the Kraft card base.  

Cut a mat from the Classic Kraft Stock 8" x 8" pad. Rough up the edges using a Paper Distresser. Ink the edges with Distress Oxide Ink on an Ink Blending Tool. 

Adhere the background piece and mat together and add a few lines of stitching around the outside edge of the card. 

Stamp can also add some snow to the background using Picket Fence Distress Paint. 

Stamp Best Wishes... message from the Christmastime Stamp Set CMS427 with Black Soot Archival Ink. Now tie ribbon around the card with a big bow. 

Die cut the Cardinal from Distress White Heavystock using the new Cardinal Thinlits set from Sizzix exclusive to Simon Says Stamp. 

Spray the Cardinal pieces with water and then with Distress Oxide Spray, dry with heat tool. Ink the edges with Distress Ink on an Ink Blending Tool. 

Die cut the Stunning Snowflake from the Silver Sparkle Alcohol Ink Cardstock. It's a good idea to add a sticker product to the back of the snowflake before die cutting, like Sizzix Adhesive Sheets. This allows you to adhere intricate die cuts with ease. 

Color a piece of White Heavy Stock for the greens using Distress Oxide Ink in Crushed Olive, Speckled Egg and Iced Spruce. Dry well with a heat tool before die cutting.  

Die cut some greens from the dyed piece using the Festive Greens Thinlits set. Ink the edges with Distress Oxide Ink on an Ink Blending Tool. 

 Assemble your card. Adhere the snowflake, add the greens and bells with adhesive. Use foam tape to adhere the bird near the greens. I also added a little gold splatter using Statue Alloy Alcohol Ink and a Splatter brush. 

Thanks so much for stopping by!
Richele

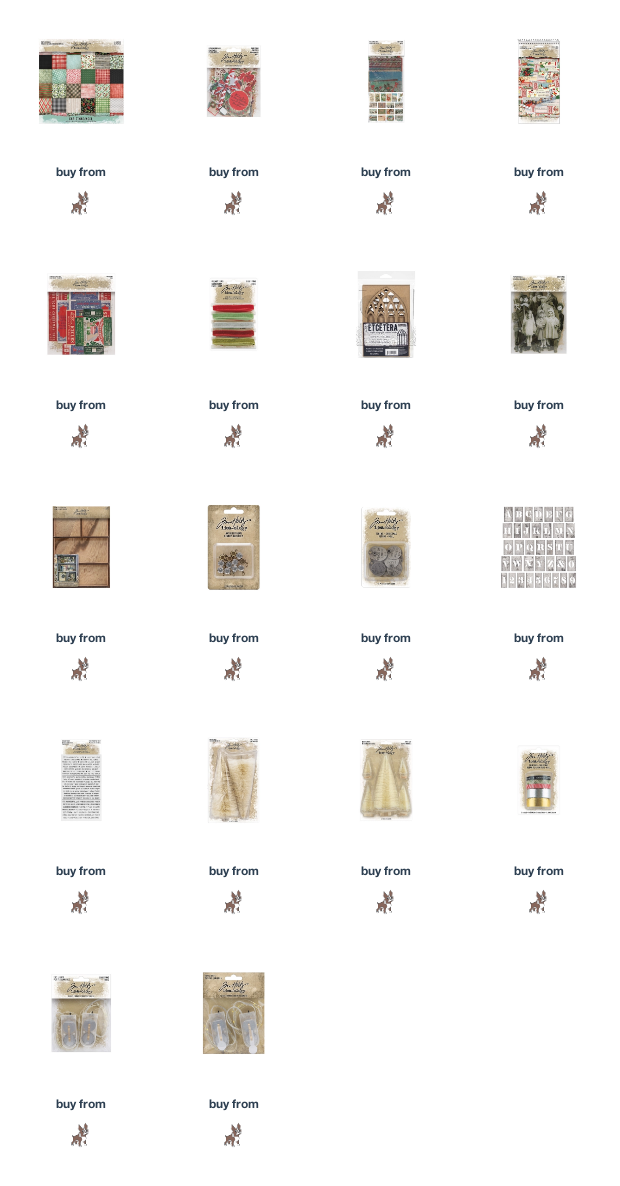
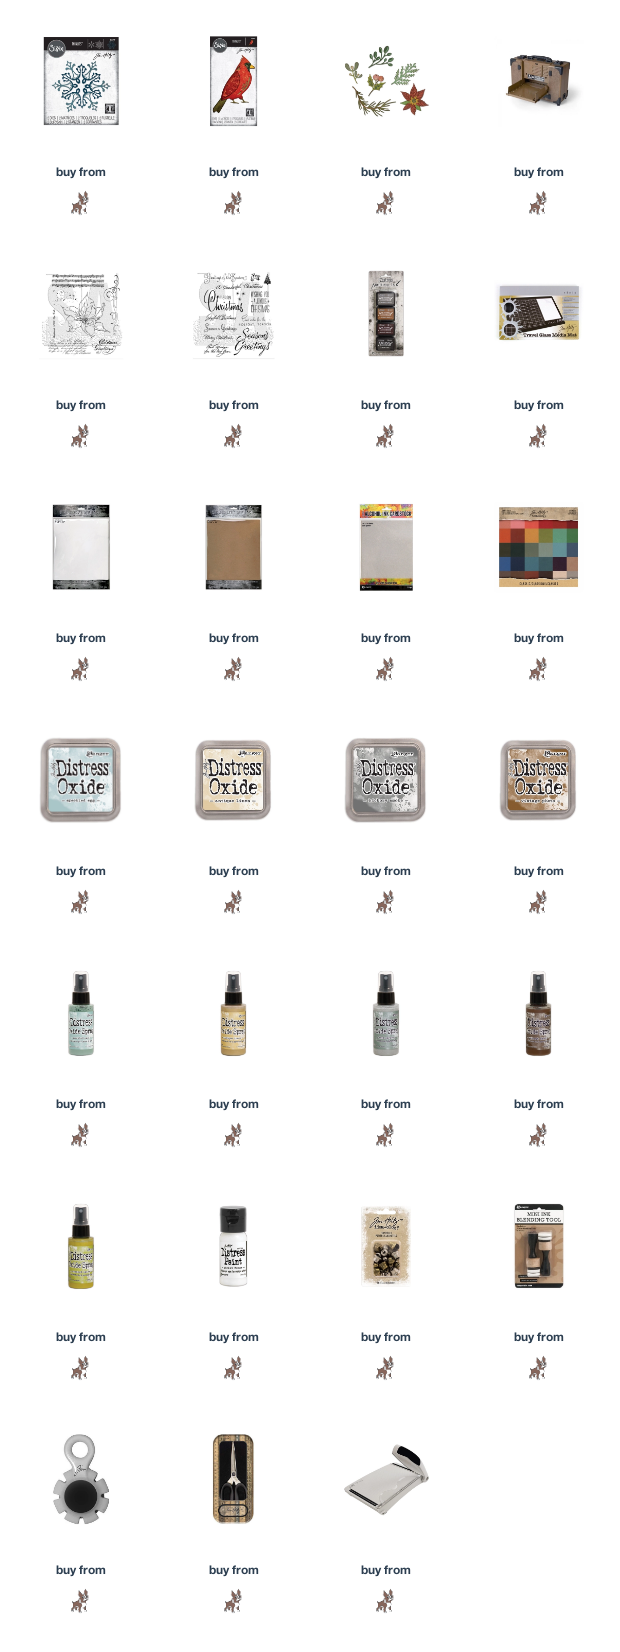
Here's all the goodies to create this project!
Tuesday, November 3, 2020

A Quick and Easy Throw Pillow

Hello friends! I can hardly believe it's November but I am loving the cooler weather! What is the weather like where you are? Today I'm sharing a fun and easy pillow using the new Abandoned from FreeSpirit Fabrics designed by Tim Holtz. These fabrics are stunning with their vivid colors, typography and striking designs. check your local store Abandoned will be there very soon! 

Here's what you'll need.

Requirements:
2 1/2" strips of the 9 Abandoned fabrics
1/2 yard Abandoned fabric for backing
16" x 26" FJÄDRAR pillow from Ikea (or the like)
thread to match
rotary cutting tools
sewing machine

Cuts strip of fabric 2 1/2" wide by width of fabric. Then cut the strips in half they will be approximately 2 1/2" x 22"ish

Layout and arrange the strips as desired. 

Sew the strips together alternating the seams. Continue sewing the strips until you have the desired size to cover your pillow. 

I purchased the FJÄDRAR pillow from Ikea, you really can't beat the price anywhere. 
My pillow is 16" x 26" so I will cut my sewn fabric piece to 16" x 26". I like the cover to fit snugly. 

Create a backing for your pillow I chose to overlap two pieces of fabric but you could also add a zippered panel. Place the fabrics right sides together and sew around the edge using 1/2" seam allowance. 

Clip the corners and turn right sides out. 

Insert pillow and enjoy! I love the colors of this fabric and it's going to be a perfect addition to my leather chair in my studio. 

Thanks for stopping by!
Richele

Saturday, September 19, 2020

Dear Santa Divided Box - Tim Holz Idea-ology Christmas release

Hello friends! I'm so excited to finally share one of my favorite makes from the new Tim Holtz Idea-ology Holiday release. Such an amazing release so you can create festive projects for the holiday season. If you missed the Facebook Live you can see all the details on Tim's blog. 

Here is my Dear Santa Divided Box. 
My sweet granddaughter Clara choose the Dear Santa charm,  

Loving the new colored lights on my tree. And do you see the Cathedral Windows with a vellum snow scene out the window. 

Santa is delivering presents to the little girl at this house. How does Santa look so great after coming down the chimney? He's from the Snippets Ephemera Pack. 

The Tiny Snow Globe looks like a little vintage snow globe. I added a few Remnants Rubs and then splattered it with some white paint so it looks like its snowing inside. 

The big half tree is adorned with Antiqued Gems. I love the sparkle and you could even alcohol ink them for colored ornaments. 

Noel has a few Remnant Rub words rubbed on them and the candy vellum scene back lite with the Tiny Lights. The top is adorned with the new Velvet ribbon which ties in a bows so nice and the Little Dear Santa Token that Clara choose for my project. 

Stay tune! I'll be doing some mini tutorials on some of the special techniques I used on this project. 

Thanks so much for stopping by. 
I hope you are inspired to make something for the holidays! 
Richele

Check you local Scrapbook store or here are the links to Simon Says Stamp. 

Tuesday, September 1, 2020

Wobbler Cat - Tim Holtz HaLLoWeeN Snarky Cat

Hello friends! Everyone loves a little Snarky Cat, right! The new Tim Holtz Snarky Cat Halloween set from Stampers Anonymous is perfect for those Halloween cards you need to make. And adding the Wobbler action on the cat makes him do a little shake shake, makes everyone smile. 

He looks like he just got in trouble for getting into the candy stash. Haha!

Stamp your favorite Snarky Cat, pumpkin and witches hat with Black Soot Archival Ink. 


Cut out all the stamp images and cut off the tail, don't worry we'll re-attach it later. 

Color the images with Distress ink and a waterbrush.  I think the new Crackling Campfire Distress Ink would be great for that pumpkin. when coloring it's so hard to keep the eyes clean so I stamped another set of eyes cut them out and adhered them after I was all done coloring. 

Position the new dot shifter stencil over an old book page and ink with Twisted Citron Distress Oxide Ink on an Ink Blending Tool.

Re position stencil lining up the dot to the engraved image on the stencil and Ink with Wilted Violet Distress Oxide Ink on an Ink Blending Tool. I like to use the Oxide Inks for this, they are a little opaque and I love that. 

Add a few stamped spider webs and of corse some spiders too. I used the Distress Oxide ink in Black Soot for the ink. 

Cut cardstock to mat your background. I used black Metallic Kraftcore and an orange card base. Do a little sanding on the cardstock then ink the edges with Black Soot Distress Oxide Ink.

Adhere the background and black piece together then add so random stitching around the edges leaving the loose ends of the thread. Use foam tape to adhere4 the pumpkin. 

Adhere the Witches Hat and the tail to the cat. Now add the cat with the wobbler.

Stamp the message with Wilted Violet and create a little flag and adhere with foam tape. 

Wow wouldn't love this cut cat and the wobbler make its even more fun. 

Thanks for stopping by!
Richele

Check your local scrapbook store or follow the links below and head over to Simon Says Stamp. 

Tuesday, August 25, 2020

Free to Imagine Card! New Tim Holtz Stamps

Hello friends! I'm back with a new card from the Stampers Anonymous fall release from Tim Holtz. I loved this stamp set the first time I laid eyes on it. The images are so beautifully detailed. If your didn't see the Tim Holtz Facebook Live video be sure to check it out, the cards and projects were stunning and so inspirational. 

I really like all the textures this card has....the crackled texture paste, the script text in the background and of corse the beautiful butterfly. 

First I positioned my stencil on to Media Heavystock and taped it down with removable tape.   Next I forgot to take a picture but I added the Crackle Paste with a palette knife. TIP: When I put the Crackle Paste on I only swipe in one direction to help prevent seeping underneath the stencil. Next carefully remove the stencil and then set aside to air dry. 

Stamp butterfly with Black Soot Archival Ink on to Watercolor cardstock, (ink must be waterproof) Color with Distress Ink and a Waterbrush. 

Add color as desired layering as needed being sure to dry between layers. 

Once the Crackle Paste is dry spray with Distress Spray Stains and a little water to help the ink flow and blend, repeat as needed drying between layers. 

Adhere vintage lace as desired to 6 1/4" x 4 1/2" base card. 

Stamp background with a script stamp using Frayed Burlap Distress Ink. Layer with black cardstock and add stitching as desired. Sew a few buttons to the corner. Adhere background piece to card. Wrap twine around card and tie with a bow. 

Love the detail of the buttons sewn on the card and look at the yummy cracked texture. 

Cut out the butterfly with scissors. Adhere butterfly with foam tape on the outer portions of the wings and adhere body directly to card with Distress Collage Medium. 

Add the word "imagination" to the center of the butterfly and adhere with foam tape. 

Color the metal flower with Alcohol Pearl Inks and adhere to card at twine bow. 


Thanks so much for stopping by!
Richele

Check your local scrapbook store for all the supplies I used on this card 
or click on the links below and head over to Simon Says Stamp.