Tuesday, February 18, 2025

Patchwork Heats Quilt with Tim Holtz Palette Fabrics

Hello friends! What do you think of Palette PINK, RED, and ORANGE fabrics? I love the vintage vibe and how they go together! I decided to make a quilt so I could use all of my favorites. The pattern is by Emily Dennis of Quilty Love. I really enjoy using Emily's patterns, they are easy to follow and she always has some tip and tricks to make your project come together quick and easy. 

Fabric - Tim Holtz Palette in PINK, RED and ORANGE
PATTERN - Patchwork Hearts II

Backing fabric - Palette - RED Tiny Print

This quilt is Fat Quarter friendly and goes together quick. I love how cozy it is. 
Thanks for stopping by!
Richele

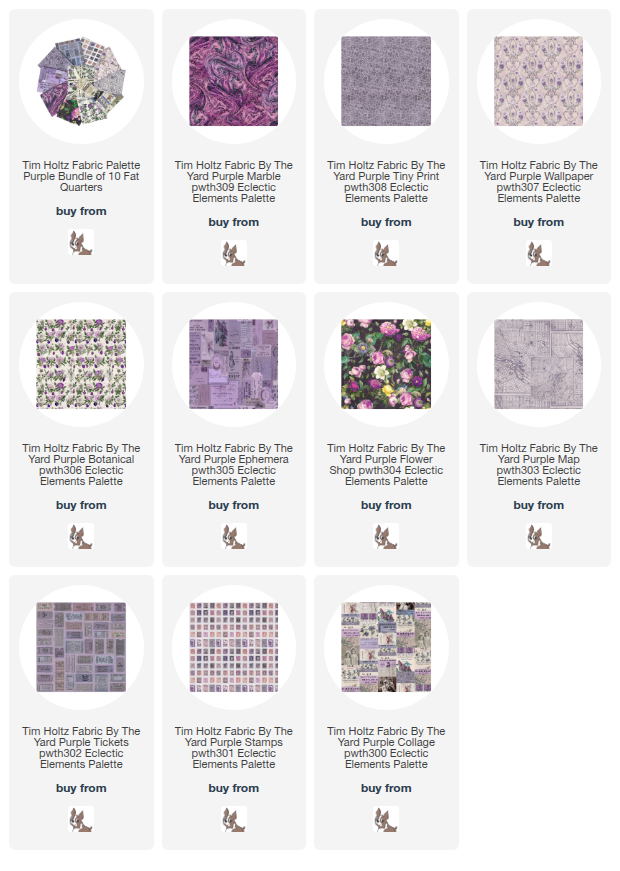
See the Palette collection of fabrics here. 
 

Thursday, February 13, 2025

Fun Fabric Cards with the Tim Holtz Palette Fabrics

Hello friends! I'm sharing some fun fabric cards over on the Simon Says Stamp Blog. I hope you will pop over and see how easy they can be. I really love the texture fabric adds to cards. and the stitching is fun too. 


You don't have to be an expert sewer to create with fabric! 
I hope you will try adding some fabric and stitching to your next project. 
Thanks for stopping by!
Richele 

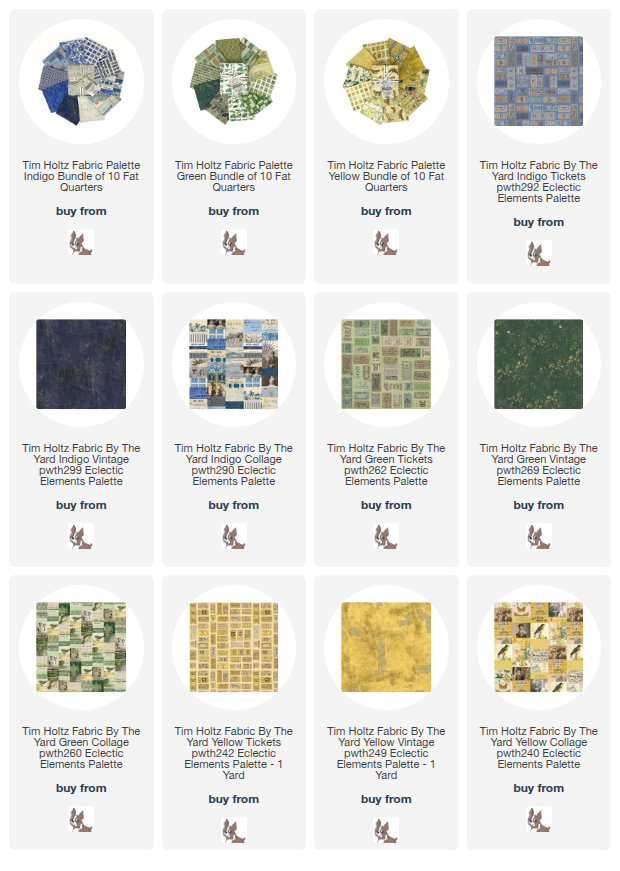
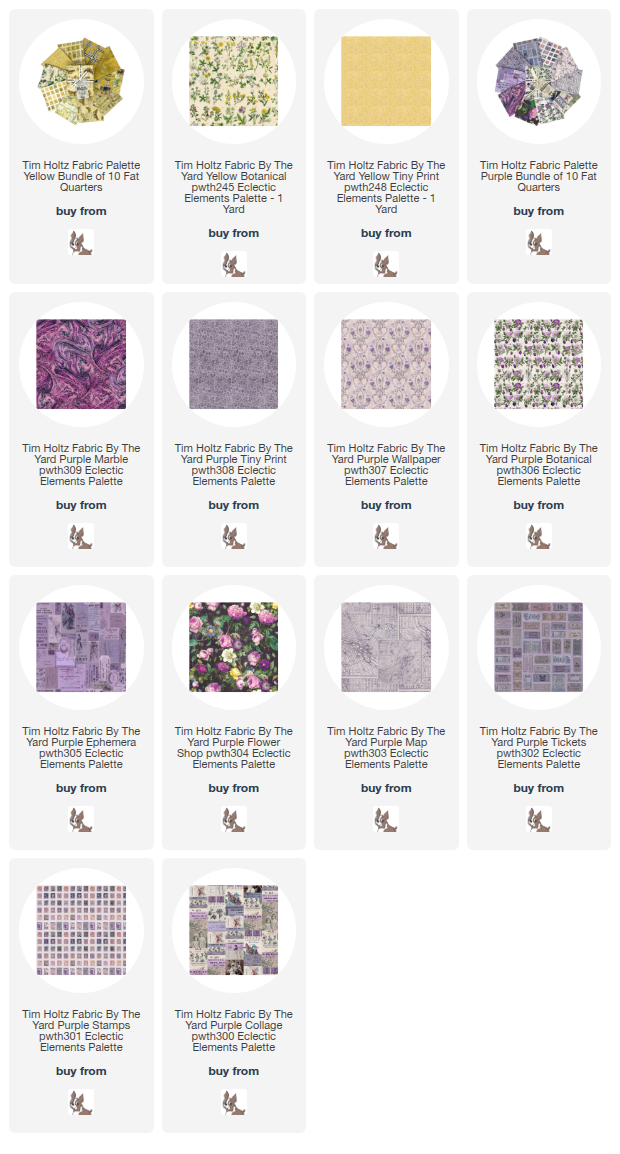
Links for the fabrics I used are below. 

Tuesday, January 14, 2025

Tool Organizer using Tim Holtz Palette Fabric

Hello friends! I hope your year is off to a great start. I've been doing a lot of sewing with the new Tim Holtz Palette fabrics from FreeSpirit Fabrics. I love the vintage vibe of the fabric and the colors coordinate so well with each other. 
I will be creating several projects each month so check my 
Instagram @caliARTgirl to see all the projects. 

So many of you wanted to know how I made this beautiful Tool Organizer so here we go. 
This project is Fat Quarter friendly and I used both the Pink and Red Palette collection. 

SUPPLIES NEEDED
Red and Pink Palette Fabrics
Soft and Stable (or batting)
Fusible interfacing
Optional - Felt, buttons, red pearl cotton
Basic sewing supplies and sewing machine 

CUTTING LIST
Inside 
Red Ledger:  1 - 17" x 11"  (lining)
Red Tiny Print: 1 - 17" x 6 1/2"  (inside pocket)
Any print for the inside 1 - 17" x 6 1/2"  (pocket lining) 

Binding and ties
Red Tapestry: 2" x WOF  (binding)
1 - 1 3/4" x WOF  (ties)
If using a fat quarter you'll need to double the amount of cut strips 
 
Outside
Pink and Red prints: 1 - 2 1/2" x 2 1/2" 
total of 40 squares (2 of each print)

Fusible Interfacing for inside pocket
1 - 17" x 6 1/2" 

Soft and Stable or Batting
1 - 17" x 11" 

OK lets get started!

OUTSIDE COVER
1. After cutting all the pieces layout the square as desired for the outside. 
You will need 5 squares tall and 8 squares wide for this project 

Finished size will be approximately 10 1/2" x 16 1/4" 
2. Sew all the squares together with a 1/4" seam allowance. Press 

3. Create a quilt sandwich with the Red ledger, Soft and Stable and 
the squares that you sewed together. Quilt as desired. 

4. You can see I used a diagonal grid for this project. 
Trim off the excess batting and backing. 

INSIDE POCKET
5. Creating the pocket - Press the fusible interfacing to the Tiny Print piece. Lay the pocket pieces out as follows. (Pocket Lining will be wrong side up and then Red Tiny Print will be right side up lining up the edges) Pin together to prevent slipping. Add binding to the top edge sewing to the back side then wrapping to the front. Top stitch on the front of the pocket. 

6. Pin the pocket to the inside of the cover. Use a Hera Marker or similar to draw the stitching lines for the pockets. Sew from top to bottom creating the pockets for your tools. To mark the the lines draw a line down the center measure out from the center 3" and 1 1/2" and 1 1/2" and that leavers a 2" pocket on the outer edge. 

BINDING 
7. Sew binding strips end to end. Fold in half length wise and press in half. Stitch binding on as you would for a quilt. fold over and hand stitch down. 

THE TIE
8. Fold tie strip in half lengthwise and press. Open the fold the edges to the center and press. Fold in half again and press. Topstitch 1/8" from the edge. Fold in half to find the center on the tie. Pin to the center of the cover on the outside. 

EMBELISHMENTS
Optional: 9. Die cut or cut out a heart from felt. Using a blanket stitch sew the Heart to the cover of your organizer. Be careful not to go through all the layers when sewing so your pocket is still functional. 

10. Add a few Mother of Pearl Buttons to complete the look. 

Add your tools to the organizer. Fold in half and tie with a bow. 

You can also fold the edges in to create a smaller organizer. 

I hope you will try to make something with these beautiful fabrics. 
Thanks for stopping by! 
Richele

Here are the links to the Tim Holtz Palette fabrics at Simon Says Stamp