
Recently, I received a plain ol' craft pumpkin from Ranger and was asked to
create a fall centerpieces using Ranger products.
This is what the pumpkins looked like before:
Here is my finished project. It looks beautiful on my entry table and
will be a great addition to my Thanksgiving table.

Here is a list of the supplies I used.
Inkssentials Non-Stick Craft Sheet
Inkssentials Ink Applicator Tool and Foam
Jenni Bowlin Dabber Paint - Chicken Feed, Brown Sugar, Fountain Pen
Distress Crackle Paint - Rock Candy
Distress Stain - Rusty Hinge, Peeled Paint
Distress Ink - Brushed Corduroy
Perfect Pearl Mist - Bronze
Alterations by Sizzix - Tattered Leaves
Tim Holtz - Grunge Board and Grunge Blocks
Tim Holtz Sanding Grip
Claudine Helmuth Matte Medium
Jute Twine
STEP BY STEP INSTRUCTIONS:

Chicken Feed and Brown Sugar Jenni Bowlin Dabber Paint.
This toned down the bright orange of the pumpkin.

Die cut Tattered Leaves from Grunge Board.

Paint leaves with Rock Candy Crackle Paint. Let Dry.
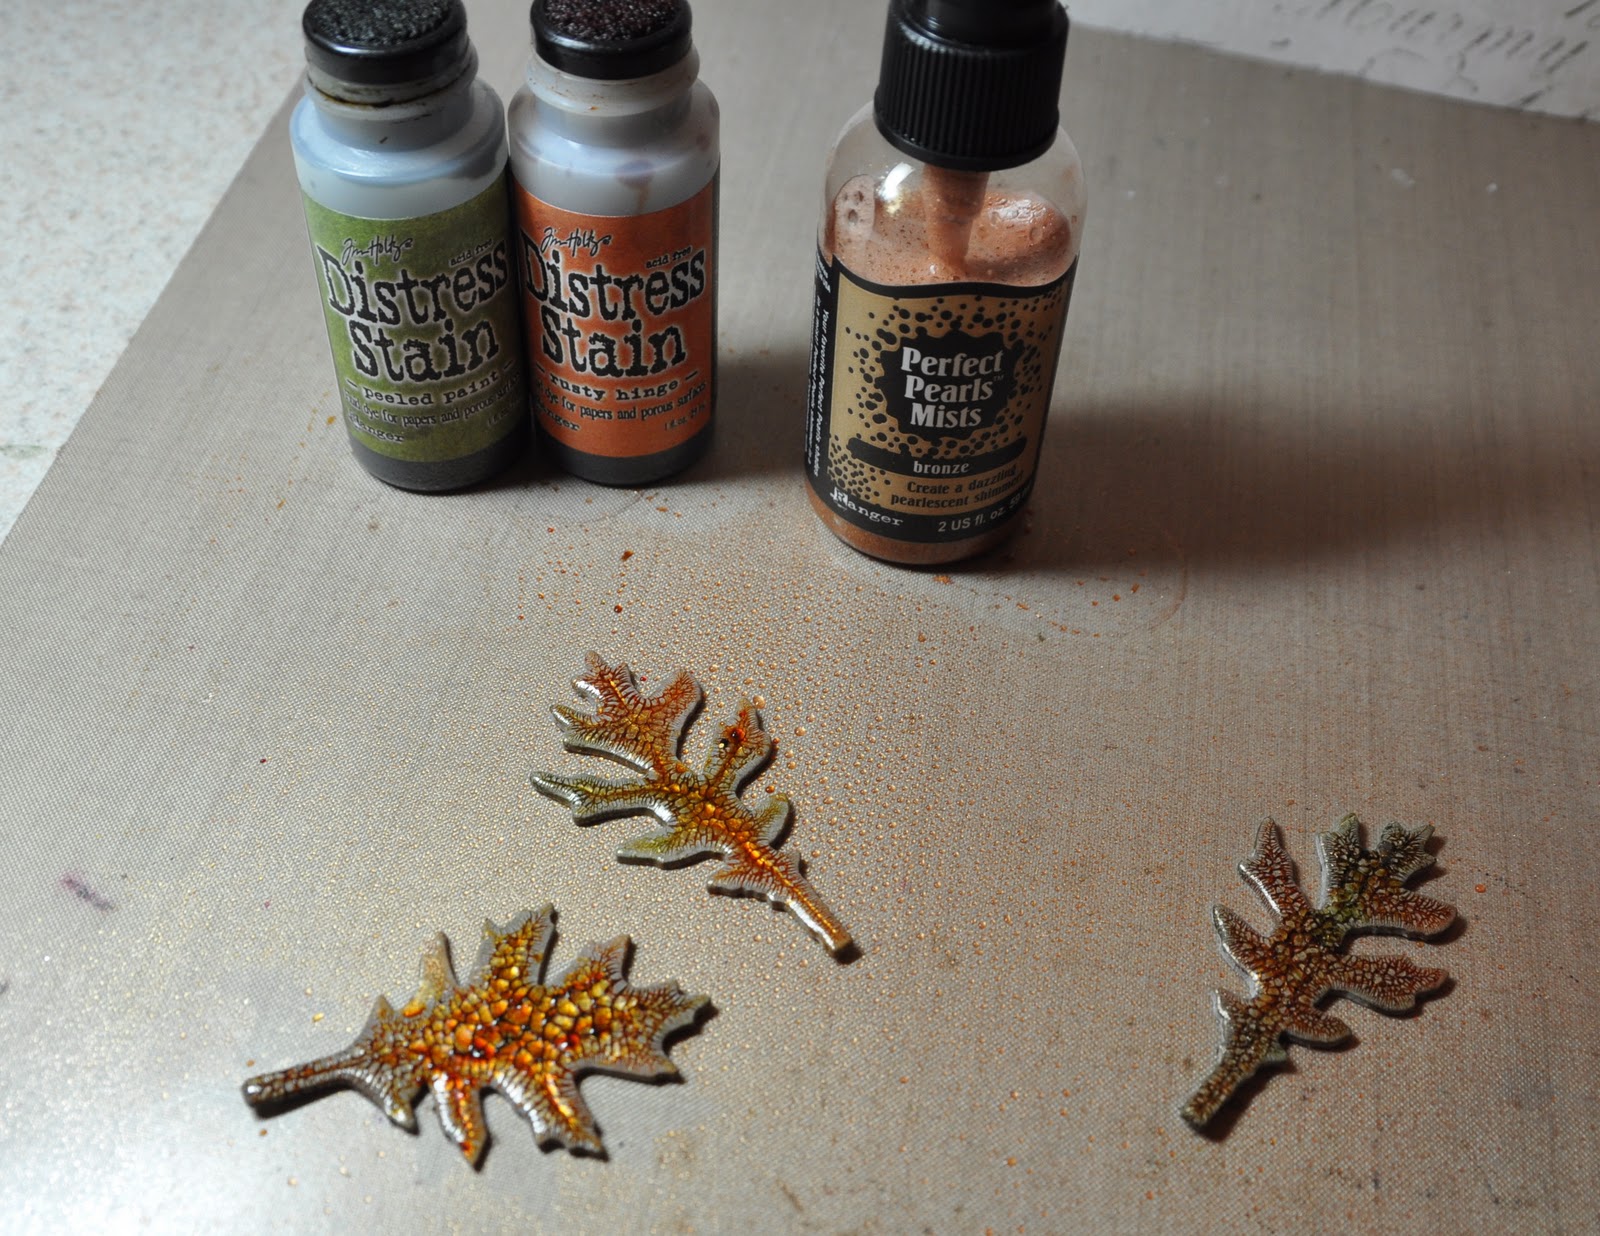
Stain the Leaves with Rusty Hinge and Peeled Paint Distress Stain.
Spray Leaves with Bronze Perfect Pearl Spray Mist.

Paint Grunge letters with Jenni Bowlin Fountain Pen Dabber paint. Let dry.

Distress the edges of the letters by Sanding them with Tim's Sanding Grip.
Ink letters with an Ink Blending tool and Foam using Brushed Corduroy Distress Ink.
Ink letters with an Ink Blending tool and Foam using Brushed Corduroy Distress Ink.

Glue leaves and letters to pumpkin with Matte Medium.
Tie a bow with Jute twine and adhere to leaves.
Tie a bow with Jute twine and adhere to leaves.
Tammy Tutterow's reveals her pumpkin today to.
Be sure to check it out... I hear it's fabulous.
Don't forget to check out even more pumpkins on the Ranger Blog.
3 comments:
Ohhh, I love, love, love those leaves! Gorgeous pumpkin!
Very cool Richele! :) Did Jack and Sally keep you company in your studio?
Beautiful!!! Perfect for an Autumn scene...
:-)
Post a Comment