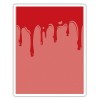
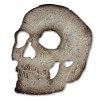
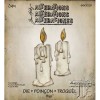
Hello friends! The Tim Holtz Halloween Series continues and the project have been AMAZING! Todays project features a fun masking technique using the Dripping Texture Fade embossing folder to make a creepy background for our Skull and Candlelight Bigz dies.
BEWARE…..FRIGHTFUL SKULL CARD!!
Emboss a piece of cardstock with the Dripping Texture Fade. Cut around the embossed Drips to create a mask.
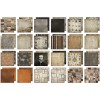
Using the Dripping Texture Fade emboss a piece of paper from the Regions Beyond Paper Stash. Sand the raised area with a Sanding Grip.
Lay the mask over the background paper lining up the Drips. Ink the Drips using Distress Ink on an Ink Blending Tool.
Pull the mask away to reveal the colored Dripping.
Distress the edges with the Paper Distresser and Ink with Distress Ink on an Ink Blending Tool.
Apply Distress Ink directly to your Craft Sheet and spritz with water.
Swipe Skull die cut through ink and dry with a heat tool. Repeat as desired.
Ink the edges with Distress Ink on an Ink Blending Tool.
Adhere a piece of Regions Beyond Paper Stash to chipboard with Multi Medium and let dry.
Die cut Candle pieces with the Candlelight Bigz Die.
Color the candle pieces with Distress Ink on an Ink Blending Tool.
Adhere all the layers with Glossy Accents.
Add a piece of dictionary paper behind the eyes, nose etc. Ink the paper with Distress Ink to create a little glow.
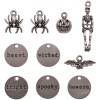
The new Oddities Adornments are the perfect touch to add to the Linen ribbon with a Loop Pin and a few Jump Rings.
For a little added inspiration…I created this piece with some of the same techniques for a workshop I taught over the weekend.
You'll notice that it has the Skull, Candlelight Bigz die and the Dripping Texture Fade.
The possibilities are endless!
Thanks for coming by!
Richele
If you're looking for the goodies check your local craft store or you can find them at Simon Says Stamp...just click the link below!


