
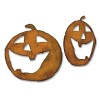
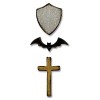
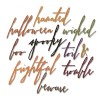
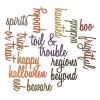
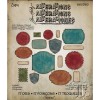
Hello friends! Halloween treat bags are always a favorite of mine, they are perfect for the Grandkids, friends or a Halloween Party. I always try to utilize dies that I already have and mix them with some of the new must haves. The stand by dies I use over and over again...the Labels Thinlits die set and "In the Bag" Bigz dies. Add in some of my new favorite dies like the NEW Jack-o-lantern Bigz die, Handwritten and Script Halloween Words Thinlits sets and the Movers and Shaper Tiny Bat, Cross and Shield set.
All great additions to my stash and for our project today.

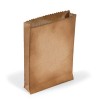
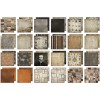
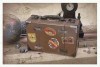
Die cut the Bag using some of the NEW Tim Holtz Regions Beyond Mini Paper Stash. The paper comes in 8" x 8" and has lots of different designs in a great color palette of black, orange and cream. Ideal for Halloween!

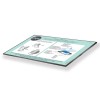
Die cut several elements to enhance your bags. Create a drop shadow by die cutting the words from Kraft-core in a color and black. Also when die cutting fine words I like to use my Zyron on the cardstock before I die cut, then my words are ready to stick! Distress all the edges with Distress Ink on an Ink Blending tool.
Have you tried the new Ground Espresso Distress Ink, I'm really loving this new color!

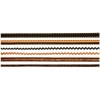
Add Distress Glitter to the Halloween words for a little sparkle! Just apply Glossy Accents to the words then sprinkle with Distress Glitter and shake off the excess. The new Halloween Trimmings have a little sparkle as well, you can never have too much sparkle for Halloween…right!

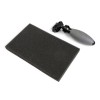
Create the handles by applying Alcohol Ink to color the Silver Tinsel Twine. Cut a piece of wire for the handle, wrap the Tinsel around the piece of wire, punch a hole in the sides of the bag and attach your handle.
I think the kids would have fun creating this festive project too, don't you?
Thanks for stopping by for a little Halloween FUN.
Richele
 |  |  |  |
 |  |  |  |
 |  |  |  |
 |  |  |  |
6 comments:
Can't wait for all the new fall and winter toys to start shipping!!! Your treat bags are soooo cute!
Beautiful bags! LOve the pumpkin! Amazing work! barbarayaya
Love your Halloween treat bags! Very clever coloring the tinsel twine with alcohol inks ;) Awesome Halloween inspiration, thank you! xx
super cute! I always forget I can color that tinsel!!
Wonderful Halloween gift bags Richelle, love the tinsel twine handles and wonderful tip to colour it with alcohol ink, thank you! Deb xo
Sooo Fun, Richele!! Trick or Treat--I'll do both!! :) :) XOXO-Shari
Post a Comment