
Hello friends! I am in love with the technique from the Tim Holtz 12 Tags in August. You can check out the full tutorial over on Tim's blog! Tim's tutorial has lots of step photos. So please check it out!

The technique is fun and I think the results are AMAZING!

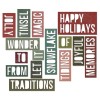
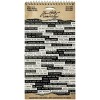
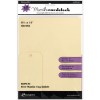
Cut a piece of Manila Cardstock about 1/2" smaller then the Burlap Panel. Die cut the words using the Thinlits dies with the Holiday #2 Block Words. It's a good idea to tape them down using Post it Note Tape or Tissue Tape.

You will need to run the cardstock through 2 times to get enough words die cut.

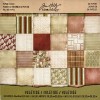
Adhere a piece of Yuletide Paper Stash behind the Manila using Multi Medium. Apply a layer of Multi Medium over the top and let dry. Once that's dry apply a thin layer of Gesso over the entire surface and with a paper towel wipe off the the gesso in the words and let dry.

Apply Distress Ink directly to the surface. I ended up using Festive Berries, Mowed Lawn and a little Frayed Burlap Distress Ink. Using the Mini Distress Ink Pads work perfect for this because they are little. Apply a layer of Multi Medium over the top of the ink. I found it helpful to wipe off my brush so the red didn't contaminate the green and vice versa.
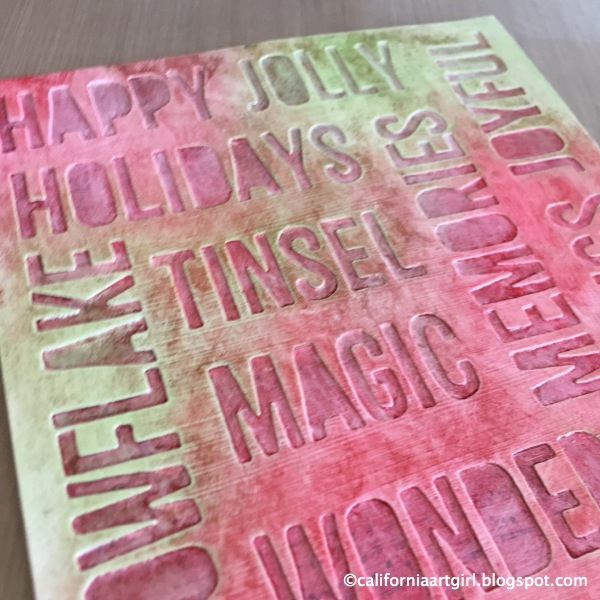
Use a paper towel with a light touch to blend the colors. If you're too heavy handed you will wipe the ink right off.

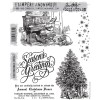
Stamp the little Snowflakes in the background with Watering Can Archival Ink. This is my go to color when black is just too dark.

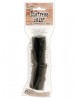
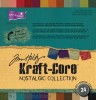
Die Cut the Holiday Greens from a few green colors of Kraft-core cardstock. Carefully sand the greens with a Sanding Grip, Ink the edges with Distress Ink on an Ink Blending Tool and then shape the leaves.

Brush Multi Medium over the surface of the Holiday Greens, do a bad job so there is only a little bit of glue, then pour Rock Candy Distress Glitter over the entire surface and shake off excess.
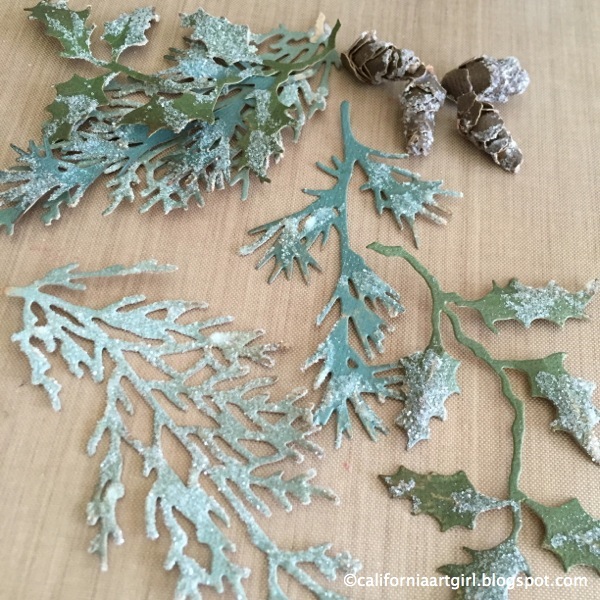
The Rock Candy Distress Glitter makes it look like the Holiday Greens has icy frost on them.

Adhere a piece of Gold Metallic Kraft-core to a piece of Chipboard with Multi Medium and let dry. Die cut "JOY" using the Billboard Bigz XL Die.

Lightly sand and ink the edges of the letters with Distress Ink.

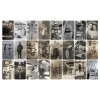
Cut the boys out around the top leaving the snow hill they are standing on. The boys came from the Found Relative Occasions.

Choose some Small Talk Occasions then sand and ink the edges with Distress Ink.

Adhere all the piece with Multi medium by painting the back of the pieces and careful place it on the background. If you get to much glue on the background it will disturb the color. Also paint a layer on the top of the pieces and let dry.

Draw around the skaters, the word "JOY" and the Small Talk saying with a Black Soot Distress Marker. Smudge out the black ink. Love how it makes "JOY" pop off the page.

Protect your work surface cause we're going to make it snow gold. Cover the Small Talk Stickers and the boys faces with a post it, we don't want paint there. Pour out some Tarnished Brass Distress Paint to your Craft Sheet, using a Splatter Brush load it with paint and flick the paint onto your background piece and Greens. Let dry.

With the Splatter Brush you get a random splatter of paint. How cool is that?

Love it on the Greenery!

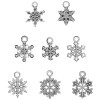
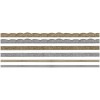
Use wire cutters to cut off the loops of the Snowflake Adornments.

Adhere Snowflakes with Multi Medium.

Cut a piece of Yuletide Paper Stash a little larger then the background piece for a mat. Use a Paper Distresser on the edge and then ink with Distress Ink.

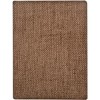
Ink the edges of the Burlap Panel with Distress Ink on an Ink Blending Tool. Adhere both pieces to the Burlap Panel.

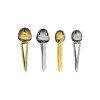
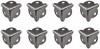
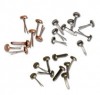
Apply Gold Alcohol Ink to the Box Corners.

Add a little Mushroom Alcohol Ink to make them look more vintage. Attach the corners to the panel using Brass Fasteners.

Attach the Greenery, Pine Cones, Bow and Jingle Brads with hot glue.

I love all the dimension and depth that's achieved by using the Distress Marker around the boys, and the words, really makes them pop!

These little boys are so cute but you could even use your own photo.

I hope you will try this technique it's really, really FUN!
Wishing you a very creative and very Merry Christmas!
Thanks for stopping by!
Richele
 |  |  |  |
 |  |  |  |
 |  |  |  |
 |  |  |  |
 |  |  |  |
 |  |  |  |
 |  |  |  |
 |  |  |  |
30 comments:
Seriously stunning Richele - I want to make this today!!
Absolutely fabulous Christmas art! I will definitely try these techniques. Thanks so much for this awesome eye candy. <3
Just so BEAUTIFUL, the color combo is stunning, yummy greenery cluster ! Amen for the cover-up...splatter brush is fun :)
This is a beautiful piece Richele!
STUNNING! I truly love this and it snowed GOLD! I'm going to make one with my own photo over Christmas. Thanks for the wonderful inspiration.
Amazing, once again Richele. I love all the details so much. Thanks for the holiday inspiration. I need it down here in Florida where we're still running the A/C.
Beautiful work, Richele. I love it!! Especially what you did with the greenery, adding the rock candy glitter and gold paint specs....very inspiring!
Really gorgeous and wonderfully inspiring . Thank you for sharing x
Your enthusiasm for the techniques really shines through in your absolutely stunning piece of work. I love the words, the gorgeous colours, the embellishments and, of course, the splats! This is beautiful Richele! Anne x
beautiful project Richele xxx
Such a beautiful piece of art!! love it!
Great piece! Thanks for sharing.
This is totally awesome. I love the background and the touch of glitter on the greens.
Great project with so much pizzazz! Just marvelous & I am excited to try out these techniques. Bravo, Richele!
I am going to try this!!! It is gorgeous!!!
Beautiful, as always. Thanks for sharing, Richele!
Beautiful card.
So gorgeous! The background is stunning Richele!
WOWZERS! This is a AWESOME winter project!
LOVE LOVE LOVE LOVE LOVE LOVE this!!! Every bit!!! Pinned too!
What an incredible project. You always amaze me, Richele.
Beautiful project! Thanks for sharing!
Richele, that is beautiful. You are amazing.
Love this beautiful panel. The touches of frost are amazing. Love how you "grounded" the boys on the snow.
Richele, you always inspire me...super project!
fabulous!!! I love it. =)
Absolutely lovely. Wonderful tutorial too.
Fantastic job. Very creative. Thanks for sharing your talent.
Wonderful Richele, love the holiday words background and fussy cutting the young boys so they appear to be standing on a snowdrift was such a great idea. Wonderful textures and Christmas colours, thanks so much for sharing it! Deb xo
Michele your pieces is absolutely stunning! i love everything you do...
the dimension in this piece, the dies used that i don't have and now need, and the pop of JOY.... love it all!!! totally inspired to make one of my own! thank you
Post a Comment