Monday, May 18, 2020

Yuletide Snowflake Pillow

Hello friends! Every year I add to my collection of holiday pillows so I decided to make one using the new FreeSpirit Yuletide fabrics designed by Tim Holtz. I'm smitten over this new Yuletide collection and I know you will be too. 


I'm in love with the simplicity of this pattern but you need to know I'm also a sucker for snowflakes! 

I found this wonderful pattern for a snowflake block by Amy Friend at During Quite Time. Amy's pattern has 3 different size snowflakes I used the 12" for my pillow. The pattern is paper pieced and easy to follow. It had been a long time since I had used this method so I hopped on line and watched a video. Easy peasy! 

I pieced all the sections following the numbers on the pattern. 

Once the sections were all pieced I sewed them together to create the snowflake.  I added a 2 1/4" strip all the way around the snowflake to accommodate my 16" pillow form. Tip: I like to size my block down about 1" for a snug fit. 

Next I created my own pipping with cording and a strip of fabric to go around the pillow. 
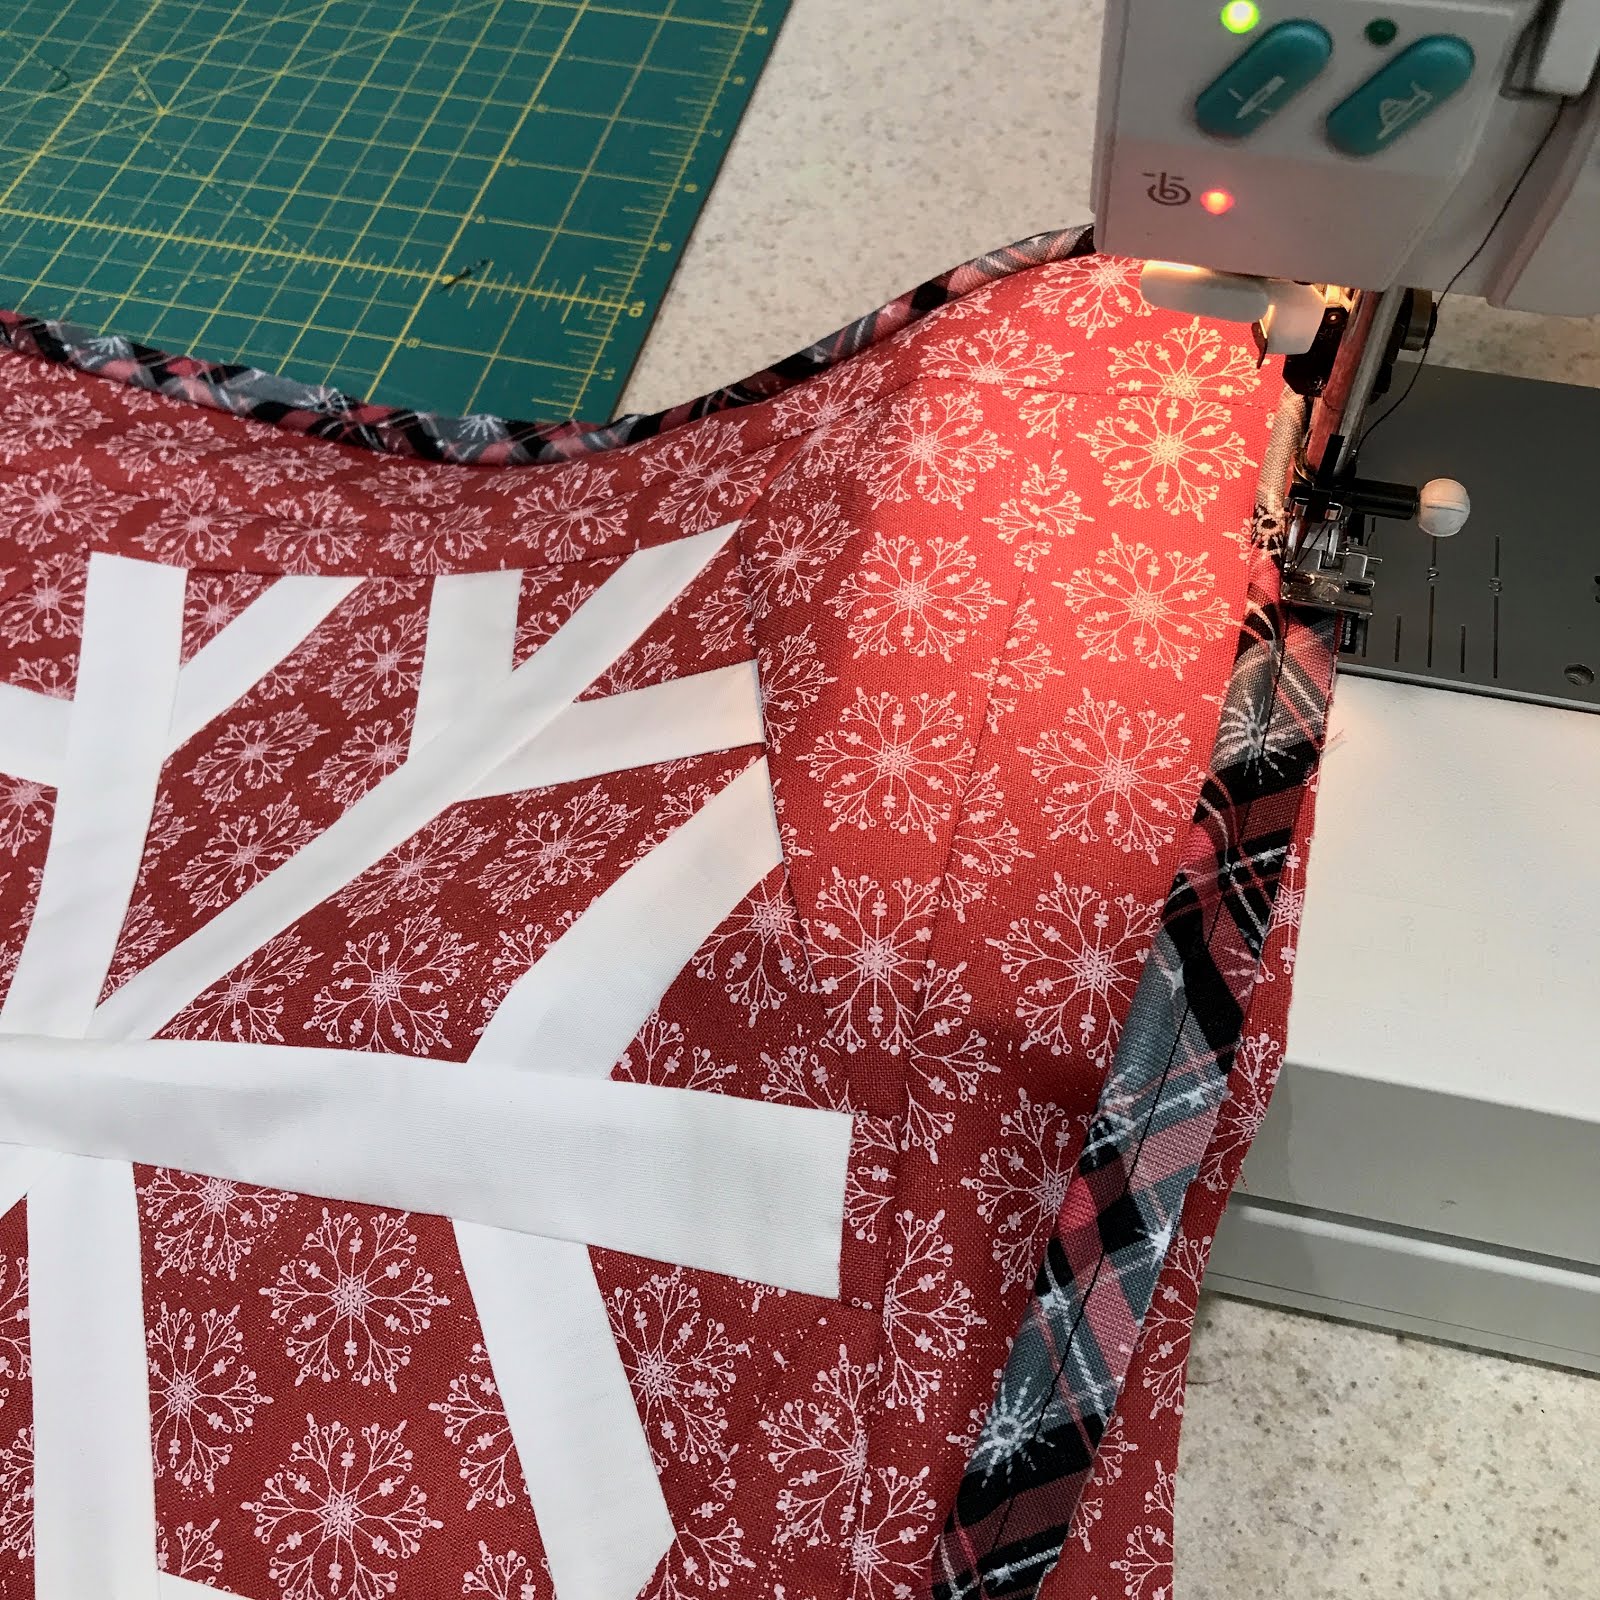
Sew the piping to the pillow front.

Create the pillow as desired. I used an overlapping back that you can insert the pillow through. You could also sew in a zipper.

 Insert the pillow and you have a beautiful pillow ready for the holidays. 

The FreeSpirit Yuletide fabrics by Tim Holtz will be available soon. Ask your local quilt shop when it will arrive. Click here if you'd like see the full line of Tim Holtz fabrics. 

Thanks so much for stopping by.
Richele

Wednesday, May 6, 2020

Yuletide Trees All In A Row - Table Runner

Hello friends! Today I have a festive table runner that will be perfect for the holidays. The new Tim Holtz YULETIDE fabric collection by FreeSpirt Fabrics will be perfect for all kinds of holiday projects. Please look for the fabrics at you local quilt shop or your favorite on line store soon. 

Yuletide Trees All In A Row Table Runner 
Size - 17 1/2" x 48" 


Fabric Requirements:
1/4 yard each of the 12 Yuletide prints for trees
1 1/2 yards Osnaburg or Linen fabric for the background 
1 1/4 yard Symphony fabric for Backing 
1/3 yard for Binding
20" X 52" Quilt Batting
Sewing Machine
Rotary Cutter and Tools
Matching Thread

Cut trees 8" x 4 1/2" find the top center and cut the tree shape as shown above. I used my cutting mat to help keep things squared up. 

Cut 2 trees from the 10 different Yuletide fabrics. You will have 20 trees total. 

Cut 40 - 4" x 9", side panels from the background fabric.


Line up the top of the tree with the top of the side panel RST (right sides together) and sew  together with a 1/4" seam allowance. 

Press the seams towards the background and trim off excess fabric of the side panel at top of tree. 

Sew on another side panel lining up the tops of both pieces and press seams towards background. 
Square up tree blocks to 5 1/2" x 8" be sure to keep the tree in the center. 

 
Cut 2 strips 3 1/2" x WOF (width of fabric) from background fabric. Cut the Birch Plank fabric 1 1/4" x WOF sew strips together, press seams towards the center. 

Trim tree trunk pieces to 2" x 5 1/2". 

Add the trunk of the tree .


Lay out the tress and sew together and press. 

Next I created some different size stars to appliqué to my table runner. Print the stars and cut out with scissors. You can even draw the stars if you'd like. 

Cut fabric about 1/4" larger then the paper template. Adhere the edges of the star using a fabric glue stick like Sewline. 


Hand appliqué stars where desired folding the tip of the star as you go. 


Layer your backing, batting and top then bast layers together.

Quilt table runner as desired. 

Cut 4 stripes for binding 2 1/4" x width of fabric, sew together lengthwise, fold and press in half lengthwise. Sew binding to edges as desired with a 1/4" seam allowance. Fold over to the back and hand sew with a ladder stitch. 

 I love the trees in all the different prints. 

I can't wait to set the table for the holidays with my new table runner! 
Don't forget to ask your local Quilt Shop for these beautiful fabrics. 

The FreeSpirit Fabrics Yuletide by Tim Holtz will be available soon. 
Click here to see the full line of Tim Holtz fabrics. 

Thanks so much for stopping by.
Richele

Wednesday, April 8, 2020

Memoranda - Plus and Minus Quilt

Hello friends! I hope your all doing well! 
I'm back with a lovely quilt using the Memoranda and Provisions fabric lines together. The fabric is from FreeSpirit Fabrics designed by Tim Holtz. 

I love how Provisions adds a pop of color for the plus signs.

Here is the pattern! If you're new to quilting this is a great pattern. the pieces are larger and the instructions are easy to follow. Emily Dennis from Quilty Love patterns is a favorite of mine. 

After I cut all my pieces I sewed the blocks together. 

Then laid the blocks and pieces out on the floor. I really need to make a design wall for this! 

I sewed all the pieces and blocks together then decided I wanted to add a border to make it a little larger. 

I prepped the layers for quilting. I'm using a new kind of batting to me. It's a Bamboo and Cotton blend and I really didn't notice any difference when I quilted it but when it was washed it puffed up so nicely. 

Stay Safe and healthy my friends. 

Thanks for stopping by!
Richele

Monday, March 23, 2020

Reverie Fabric by Shell Rummel!

Hello friends! Don't you just LOVE this gorgeous fabric! So many beauties to choose form. The fabric is designed by Shell Rummel for FreeSpirit Fabrics. Shell uses a very tranquil palette with soft colors. There is also some beautiful peach and turquoise colors in the line. Ask your local quilt store for availability. 

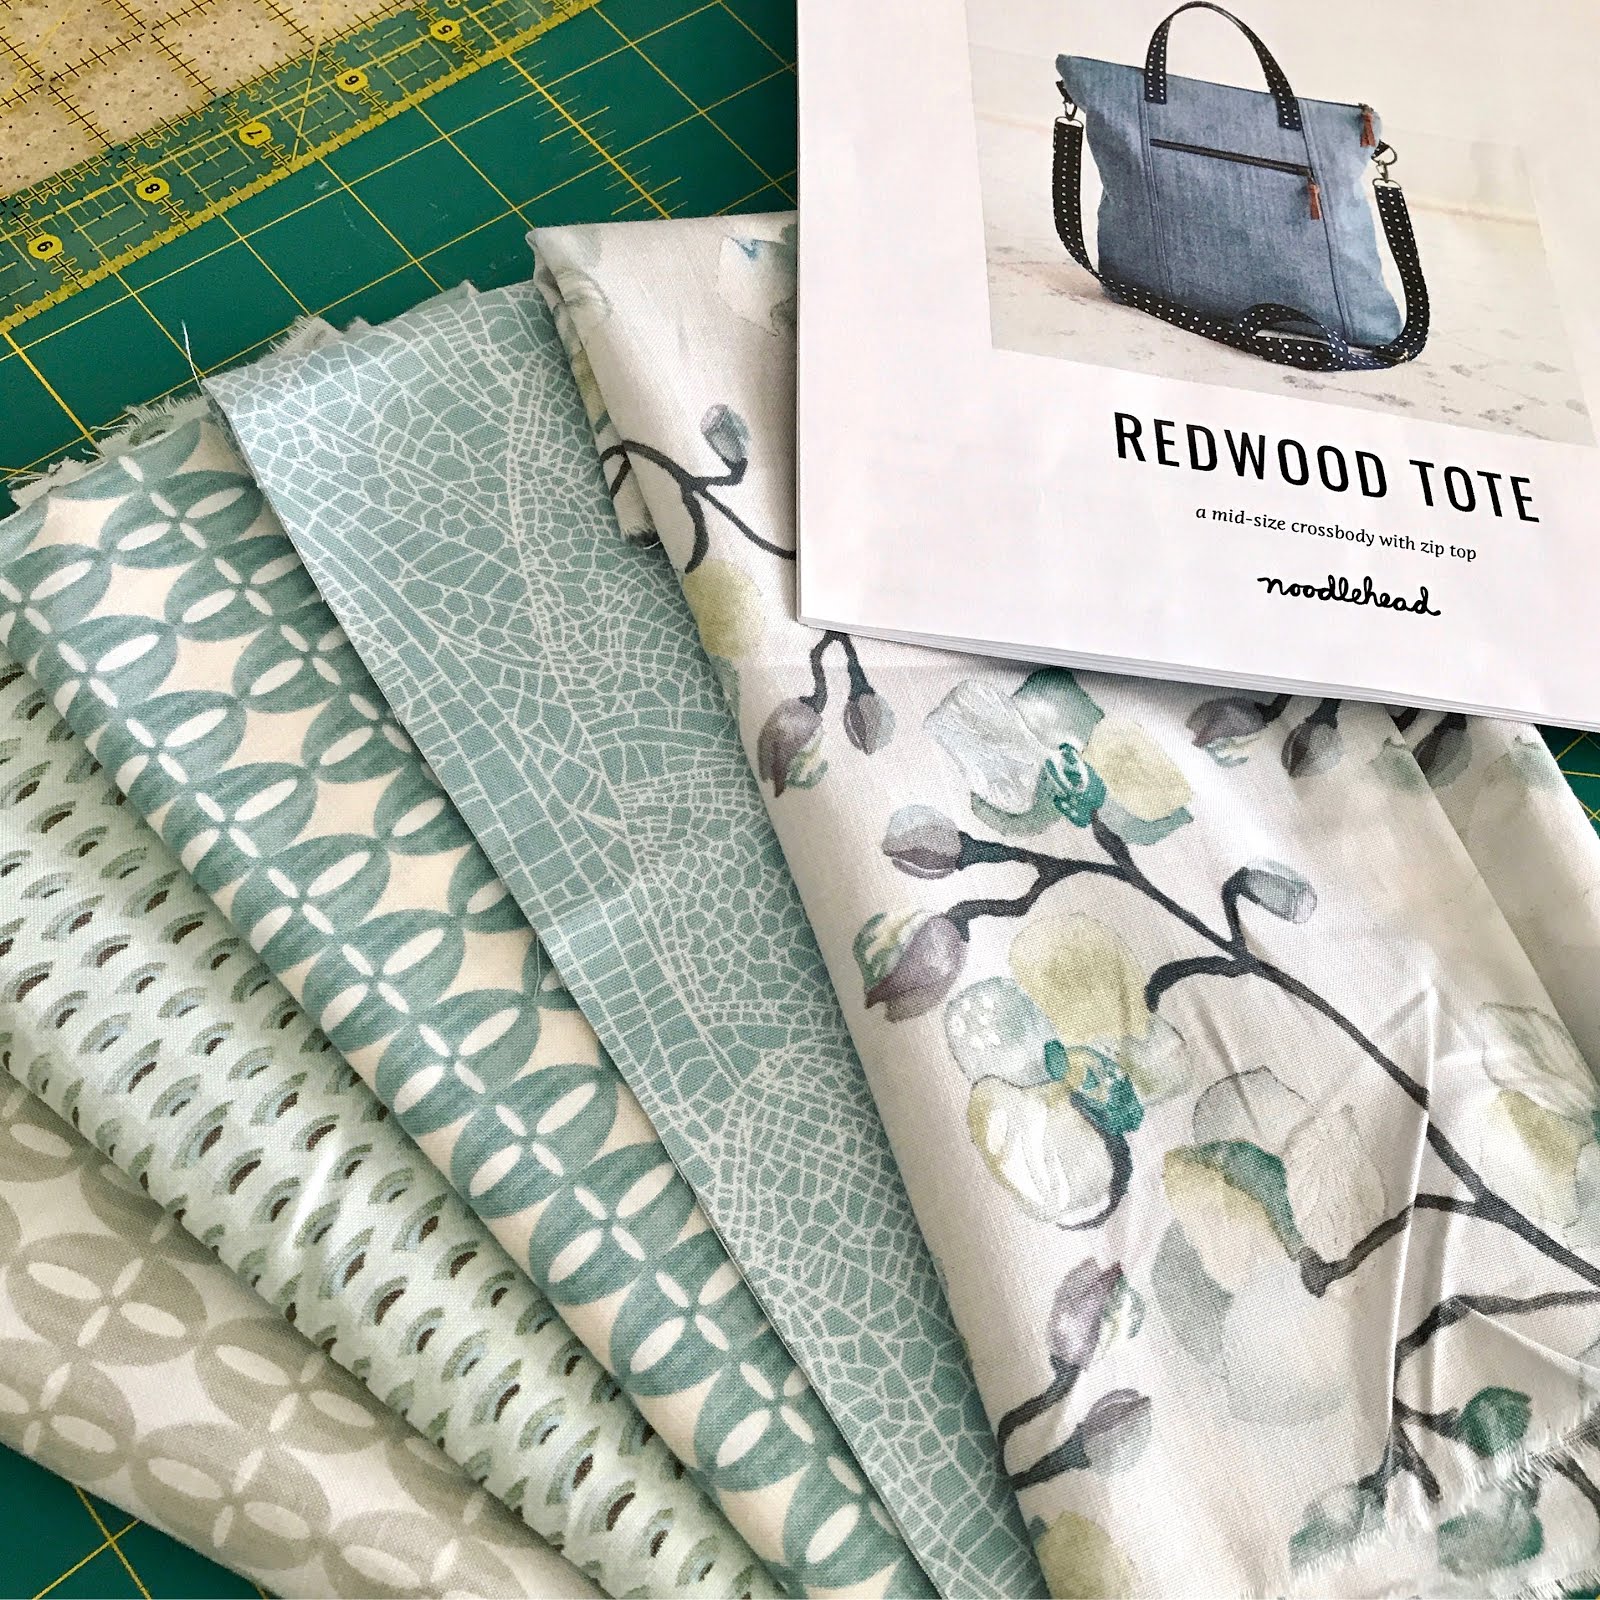
The pattern is the Redwood Tote by Anna Graham aka Noodlehead. 
I have made several of her totes, bags, backpacks and fabric pouches...the instructions are very easy to follow

 I wanted to showcase the beautiful orchid flowers down the center of the tote. Don't you just love it? The Cross Body Tote has handles and a long adjustable strap and is even large enough to hold a smaller lap top. 

Cant wait to fill it up, I know it will be a new favorite. 

Look at this fun geometric pattern for the lining! 

I love having a zipper pouch on the outside of my bag to keep my keys safe. 

The bottom of the bag has a reinforced panel for better wear. 
I used a gray cork to go with the fabrics for the bottom, strap and handles. 

There is even a nice deep pocket on the backside of the tote. 

Be sure to check out Shell Rummel's web site she does a lot more then just fabric.

Thanks so much for stopping by! 
Stay safe and healthy! 
Richele

Saturday, February 15, 2020

Memoranda Fabric Petal Pouch

Hello friends! I hope you're all doing well. I have a quick sewing project I'm sharing today using the new Tim Holtz Memoranda III fabrics by FreeSpirt Fabrics. The hardest part of making these bags was deciding which fabrics to use. The Memoranda line is definitely one of my favorite lines that Tim has done. The fabrics are a little girlie, sweet and soft colors and the imagery is so fun and beautiful. 

These Petal Pouches can be used for so many things. A makeup or travel bag, or maybe to carry your sewing essentials, I can think of so many uses. Can't you? 

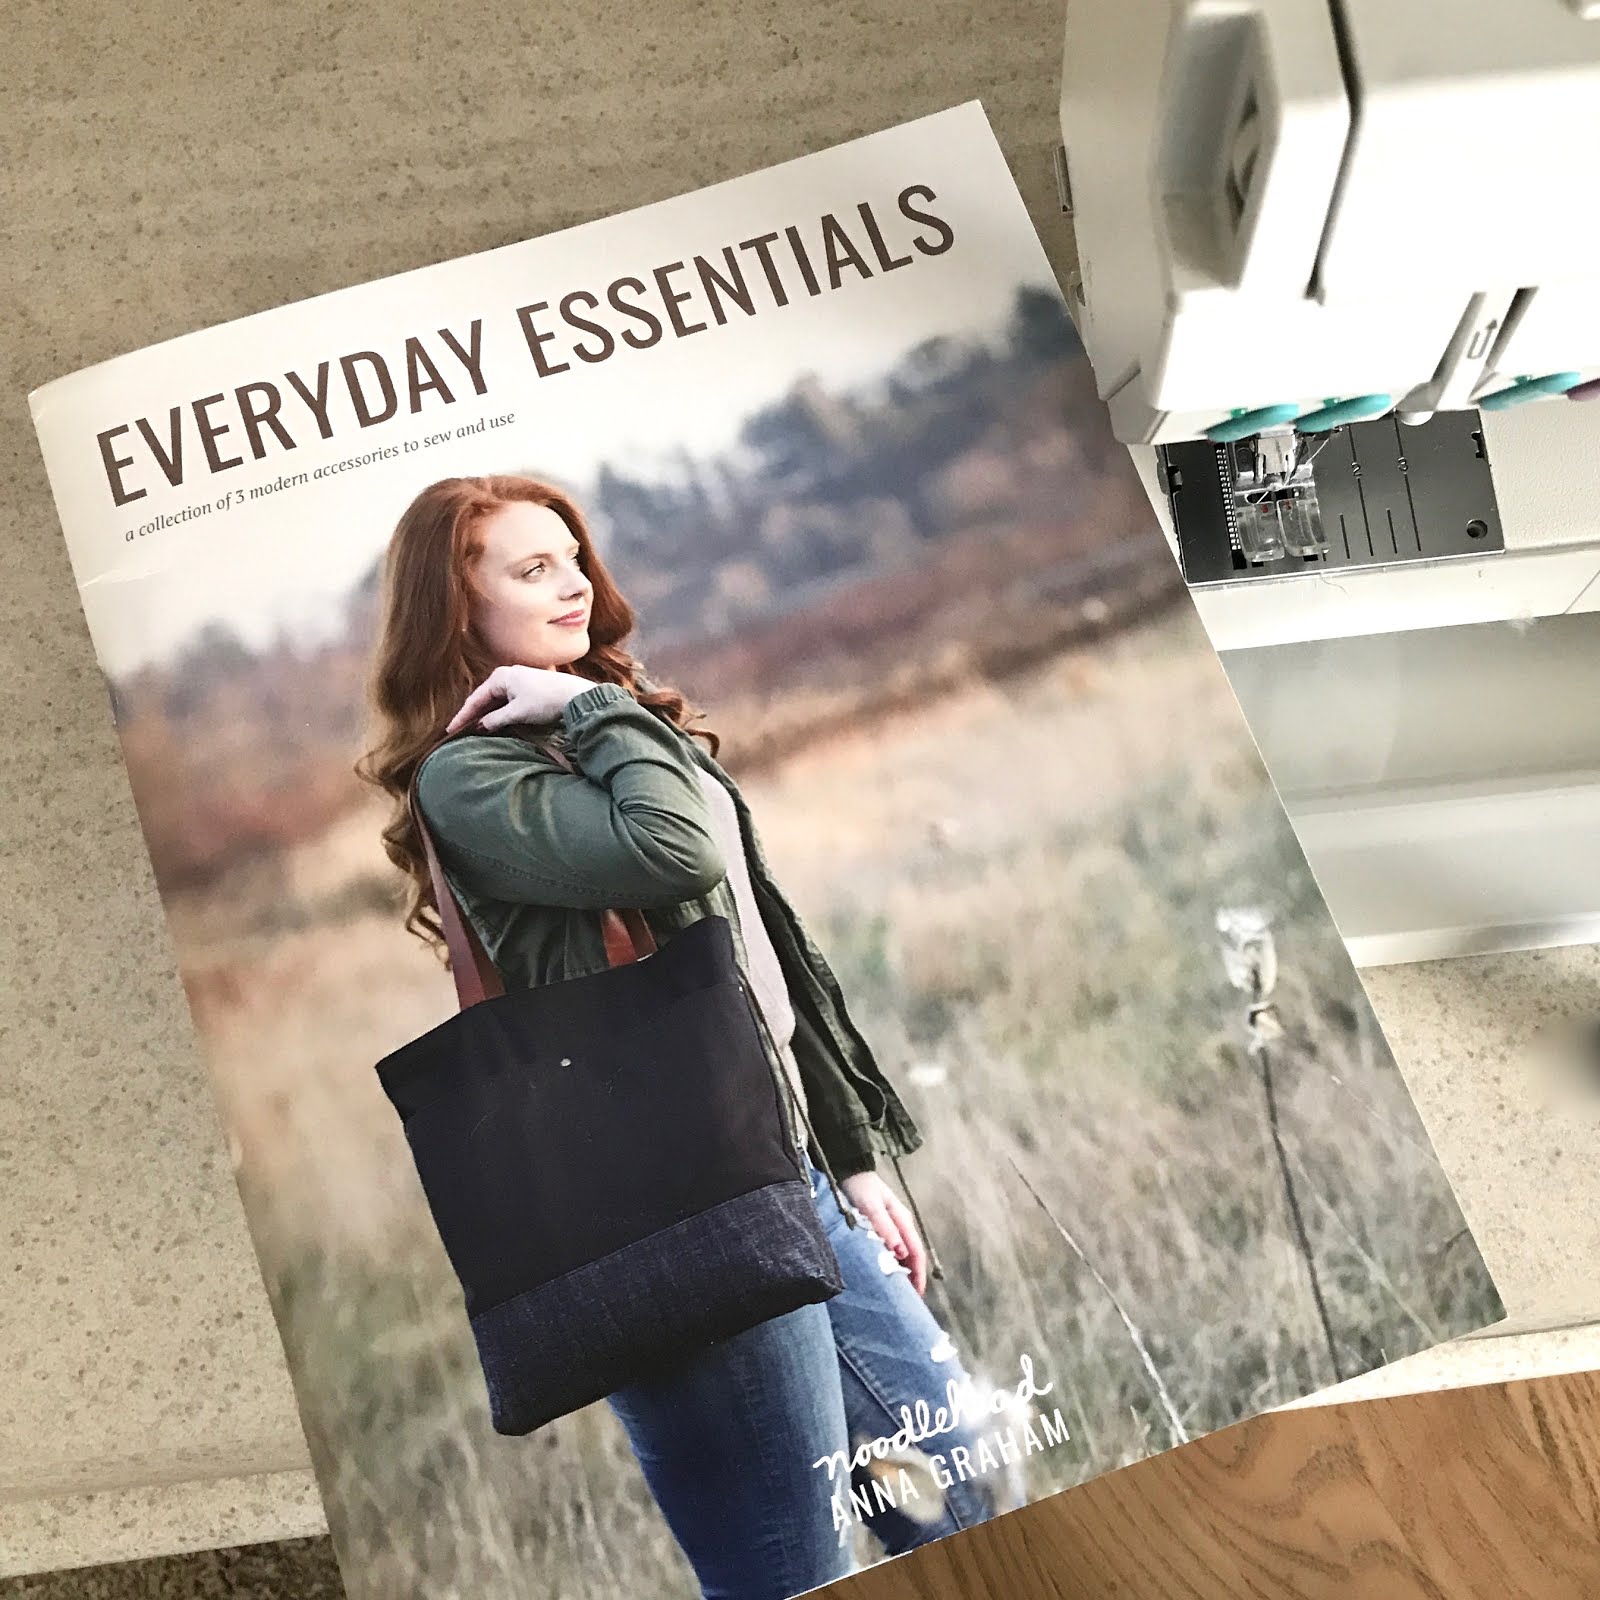
The pattern I used is from Anna Graham AKA Noodlehead. I have made several projects using her patterns and they are always easy to follow and go together well. This pattern is available in book form on Amazon or she has a download for just these cute little pouches for only $6 on her website

Here are the beautiful fabrics I chose for the pouches. You find the fabric at your local Quilt shop or try on line at Fabric.com or The Fat Quarter Shop

You can also add a little stitching, an appliqué or some vintage buttons. 

Love the graphics on the back of this bag make me think of years gone by. The curved zipper makes it so the pouches have a large opening to add all the things. 

I used a fun lining for my pouches and can't wait to use them. 

What fabrics will you make your pouches out of?
What will your pouches hold? 

Thanks for stopping by! 
Richele

Thursday, January 2, 2020

Be Creative Art Retreat and Crop


DUE TO COVID-19 quarantine 
the Art Retreat has been rescheduled for May 29th - 31st 
Seats still available! 
Please stay in and be healthy! 

Be Creative Art Retreat/Crop 2020
  March 20th-22nd, 2020
 Hosted by Richele Christensen


The anticipation of a magical weekend awaits!


I’m so excited to be hosting a weekend getaway of crafting, fun and adventure.
The weekend festivities will include workshops on Saturday and Sunday morning with
Make-n-Take projects and treats each day.


We’ll be creating Cards & Mixed Media, projects, Assemblage pieces, using Ranger, 
Idea-ology, Sizzix products and more. 
You will have plenty of time to work on your own projects, have fun, laugh, make memories
and new friends. 


Includes a welcome gift from me, a 6 foot table all to yourself, treats,
drinks, raffle prizes, wifi, power (please bring a extension cord if you need power).
Please bring a snack to share one of the days if you’d like.


Sign up early only 50 spot!
Friday, March 20 - Sunday, March 22nd


3 day Crop -$175.00*


*Add on early bird no frills Thursday-$15.00*


*Comfy chair rental only $10.00*
*Limited quantities


*Optional No frills Thursday - 10:00 am - 6:00 pm
*Friday event starts - 10:00 am - midnight
*Saturday 10:00 am - midnight
*Sunday 10:00 am - 6:00 pm


*The store will be open Thursday-Saturday from 10-6pm


*There are 2 hotels within a few minutes from the store:
Best western Plus -(707) 678-1400
Country Inn & suites- (707) 676-5000


*All sales are final no cancellations, refunds or exchanges.
(if you are unable to come you may gift your spot to a friend)
Sorry, no substitutions for snacks or treats.

For more information go to 

I hope to see you there!
Richele

Wednesday, August 21, 2019

Haunted Assemblage Clock

Hello friends! Todays project is all about the new Halloween Idea-ology release. I love creating home decor pieces for Halloween and this years release is really inspiring! I hope you have time to play! 

The base of the project starts with an Assemblage Clock. Remove the bells + handles in one piece and remove the feet.  Paint the sides and pieces of the Assemblage Clock with Gesso to help with adhesion, then add Crackle Paste randomly rubbed over the surface and let air dry. Don't for get the face of the clock, the feet, bells and handle. Once the paste is dry it will show all the cracking, paint with Iced Spruce Distress Paint and let dry. Add Mushroom Alcohol Ink to a felt Applicator tool and ponce randomly over the surface of the clock. Draw Walnut Stain Distress Crayon in small sections over the clock and with a damp finger rub out the crayon to enhance the crackling. 

Trace the Assemblage Clock backing on your choice of paper from the Abandon Halloween Paper Stash Pad. Cut out with scissors smaller then the traced line and test to ensure it fits.This will be the foundation for the clock. The background of the clock has a little village that was die cut from the Sizzix Ghost Town Thinlits set. Ink Mica with Alchemy Alcohol Ink on an Applicator Tool and add to the windows for a little glow. Build the Haunted Halloween Ghost Town , trees and a moon using foam tape to add them to the background piece. You can add little fairy lights behind the houses as desired. 
Halloween Adornments are painted with Black Soot Distress Paint and Distress Crayon was added to enhance the letters and numbers and added to a Swivel Clasp to hang off the side of the clock. 

Line the inside of the clock with Mummy Cloth that has been died with Antique Linen Distress Ink Spray and dry flat with a heat tool. Stamp spider web image with Black Soot Archival ink then adhere to the sides with Collage Medium and let dry. 

Cut Metal Gate in half, cut to fit around the bottom and adhere with hot glue. Fussy cut a section from the group of Trick-or-Treaters, color with Distress Markers, blend out with a cotton swab, dry with a heat tool and spray with a fixative. Add a few Mask from the Sizzix Mascaraed thinlits die set and maybe a crown and wand for the princesses.
Adhere the Trick-or-Treaters in front of the gate and add moss and pumpkins and desired. 

And the wise old owl looking over the children was painted with Black Soot Distress Paint, partially dried and then rub off raised areas.  Color eye with Alchemy Pearl Alcohol Ink and paint with a tiny brush then go back and add the small dot in the center with Black Soot Distress paint. Add a little Mushroom Alcohol Ink to a cotton swab and rub on the raised areas of the owl.  Adhere Owl to the handle with Collage Medium resting the wings on the clock bells. Add a little Pumpkin with moss and a steam under the owl. Tie Mummy Cloth around the chain of the fastener. 

Adhere Hardware Heads to the face of the clock and don't forget to add a bat or two. Have fun creating your version for halloween!

Thanks so much for stopping by!
Richele