Hello friends! I've had so much fun creating projects from the Palette Collection from Tim Holtz for FreeSpirit Fabrics. There has been 12 mounts of the most amazing designs and 2 seasonal releases for Halloween and Christmas. Here is the recap for the last quarter....
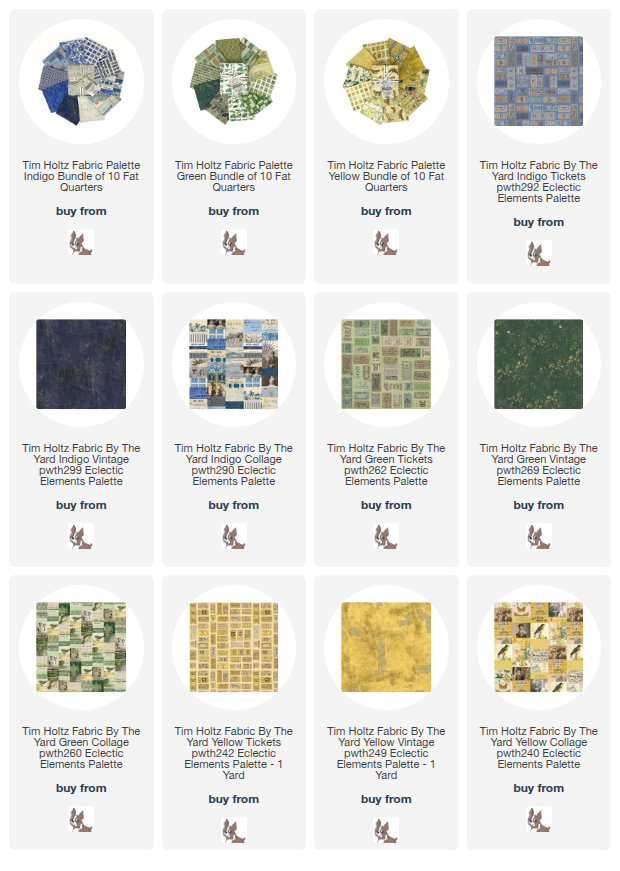
Palette INDIGO

Double Zip Gear Bag 2.0
Pattern - by Annie

Pepin Tote Bag
Pattern by - Noodlehead

Moody Blues Patchwork Duffle Bag
Pattern by - Noodlehead

Vinyl Zipper Pouches
Pattern by - Sotak Handmade
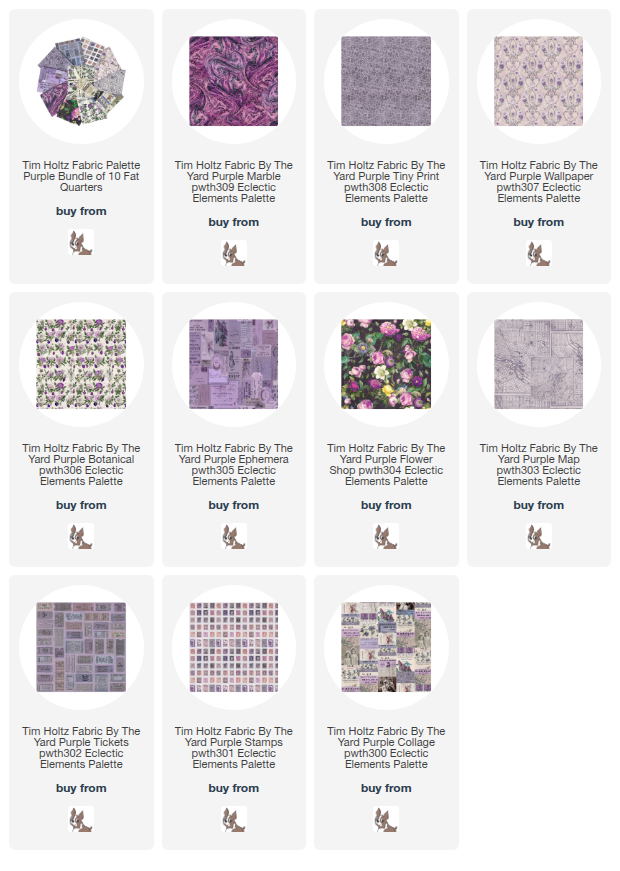
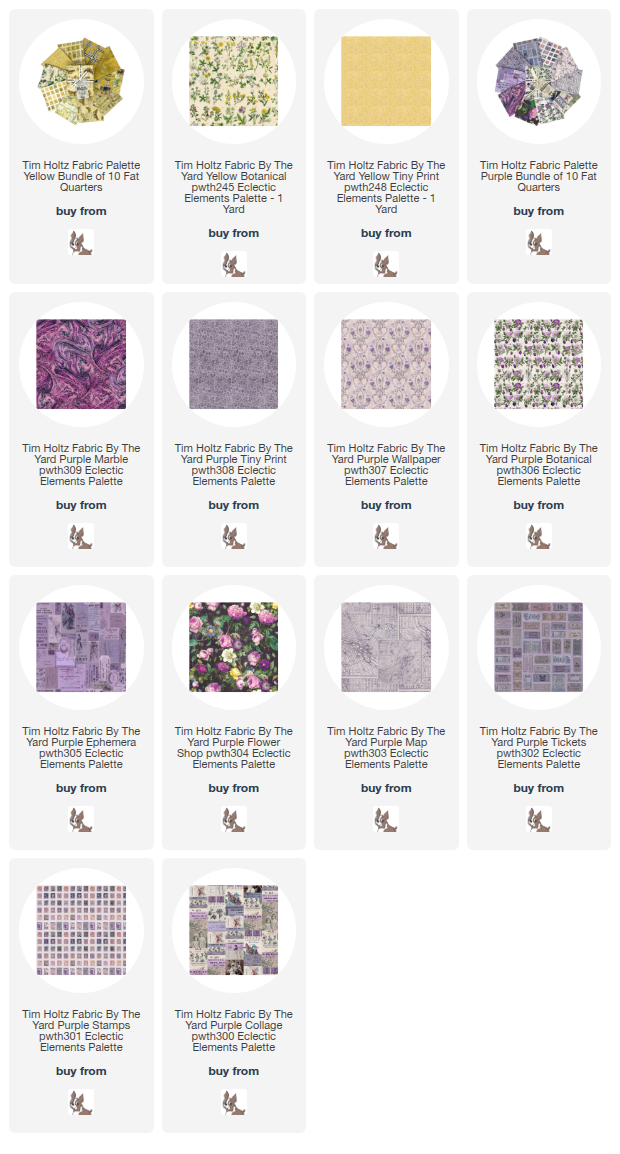
Palette PURPLE

Butterfly Pillow
Pattern by - Center Street Quilts

Quary Tote
Pattern by - Noodlehead

Computer Sleeve
Patterns by - Olivia Jane Handcrafted

Petit Four Baskets
Pattern by Annie FREE pattern
Palette CHARCOAL

Plover Pouch
Pattern by - Noodlehead

Color Block Tote Bag
Pattern by - Robin Pickens

Rainbow Forest Pillow
Pattern by - Center Street Quilts
Palette MULTI

with Palette Multi

Pattern by - Indigo Blue

All Things Tote
Pattern by - Knot and Thread
Palette Seasonal CHRISTMAS

Tree Drawstring Bag
Pattern by - Lazy Doll

By Richele Christensen
Details on Simon Says Stamp

Oh Christmas Tree Ornaments
I hope you've enjoyed all the inspiration for the Palette Fabric by Tim Holtz.
Stay tune for more Palette inspiration.
Thanks for stopping by and happy sewing!
Richele