Hi bloggers! I hope you all had a great weekend.
I was able to work in the studio for a little bit this weekend. I came across this stamp from Stampers Anonymous, it's an old favorite of mine.
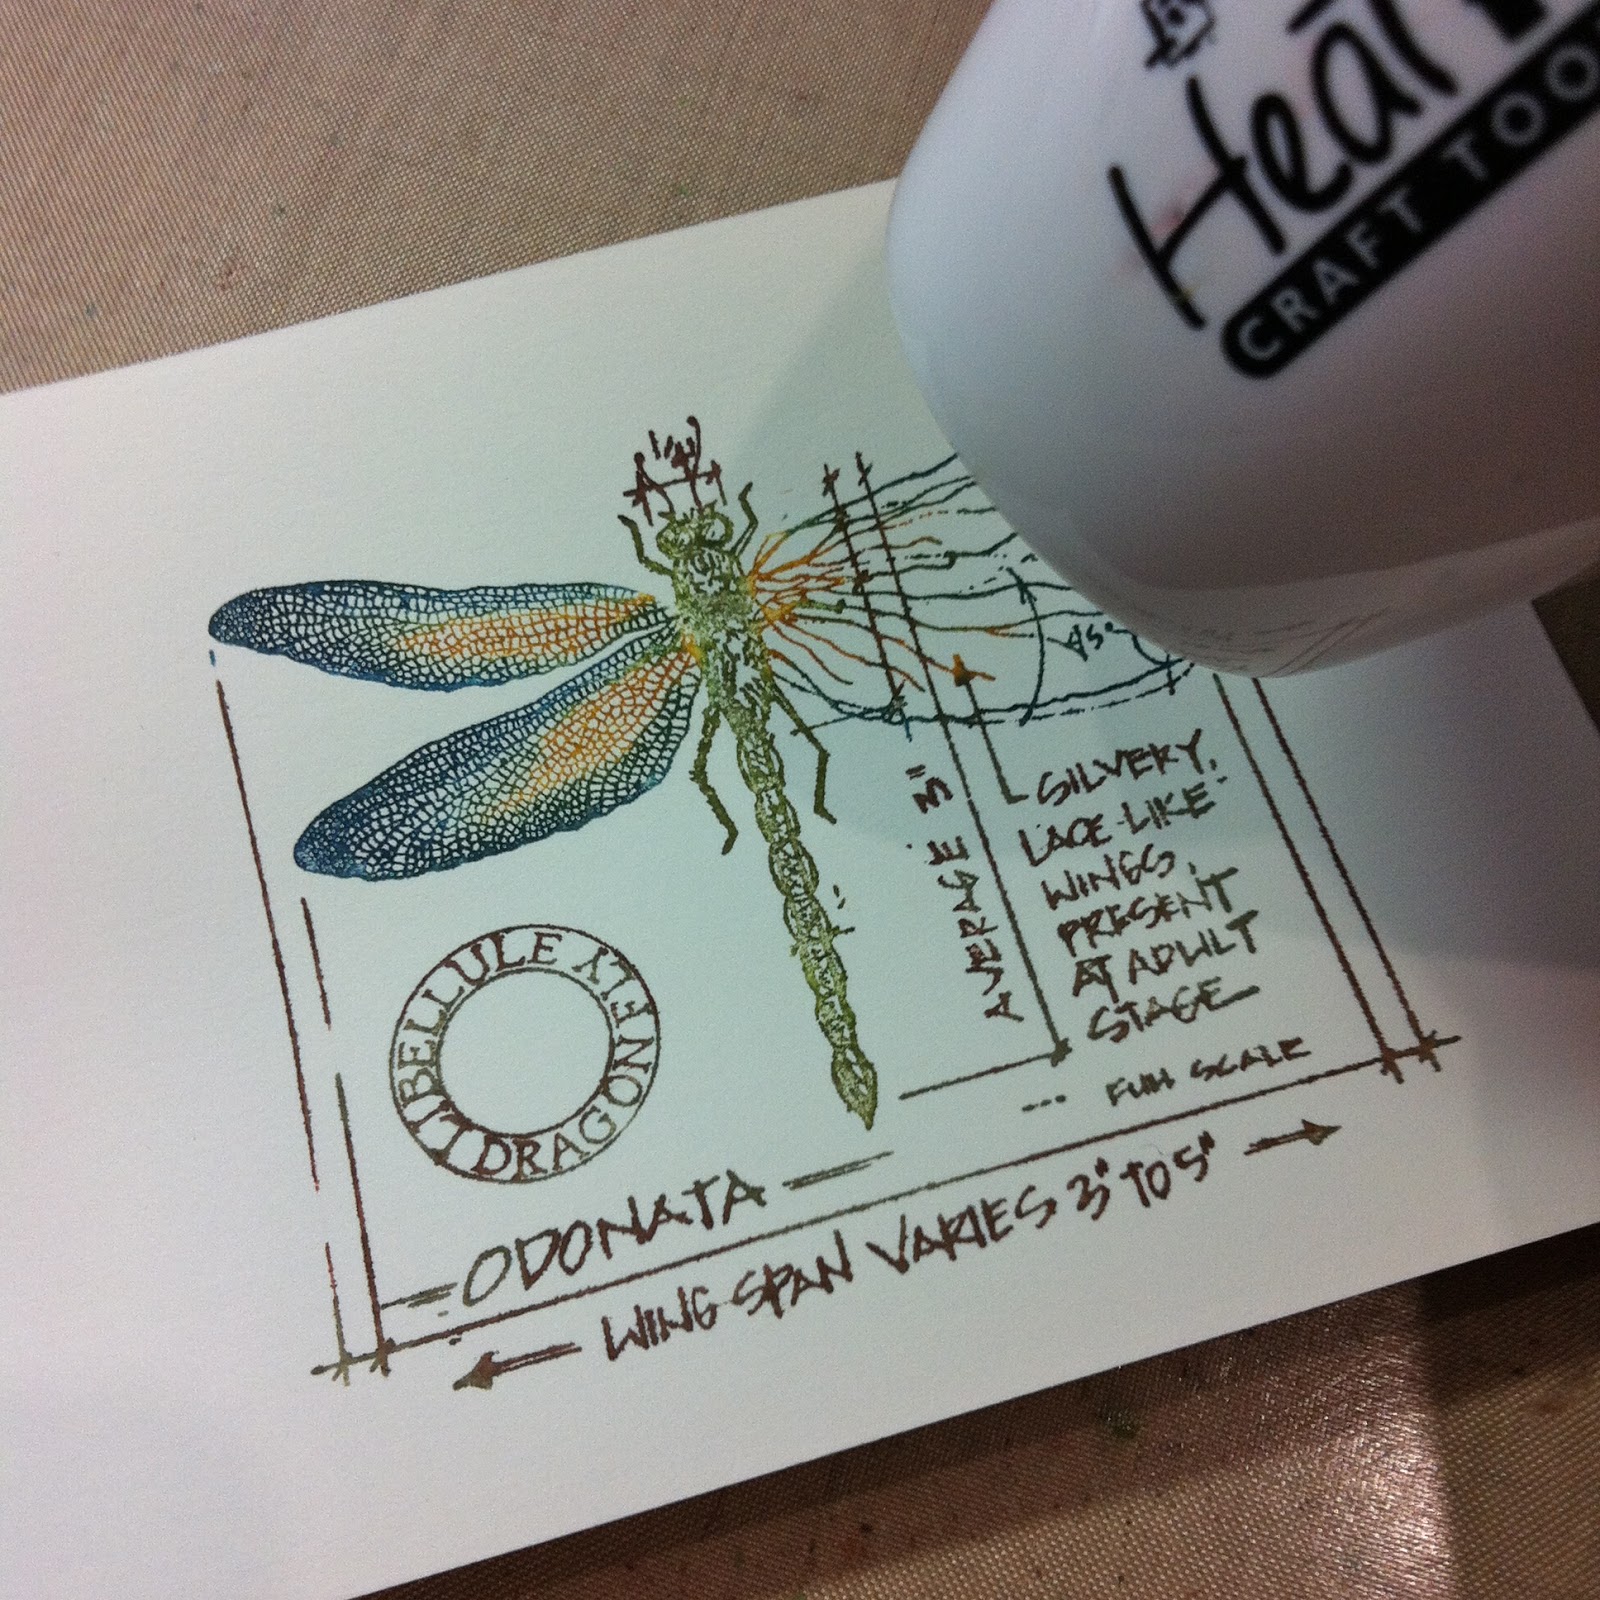
You can tell in the photo that it's well loved. I colored the stamp using Distress Markers starting with the lightest colors first and working my way to the darkest color. I gave it a little mist of water and then stamped it on a natural cardstock.
Your image needs to be good and dry so I dried it with a Heat Tool.
Next I wanted a watercolor look to my Dragonfly, I went over it with the new detail water brush of Tim's. I love the small tip of this brush you can really get into those small areas. Use the Heat Tool to dry the image quickly so you don't loose the detail of the stamped image.
With a small brush paint a thick layer of Rock Candy Crackle Paint over the wings and a super thin layer over the body. Let dry.
When the Crackle Paint dries the wings are shinny and the body is matte. Almost looks real.
Use the Mover and Shapers "Imagine" die and die cut the word from some dark blue Kraft Core paper then sand with a Sanding Grip.
Now cut a piece of dictionary page just a little smaller then the Image. Ink with Vintage Photo Distress ink on an ink Blending Tool.
Paint generously with Rock Candy Crackle Paint and while it's still wet lay on top of the dictionary page.
Carefully press down with a Craft Pick. The Crackle Paint sort of oozes around the letter. Let dry.
Die cut the Tattered Floral Garland from Kraft Core in yellow and green. Love this die! Maybe my new favorite. It even die cuts the hole in the center. Sand and then ink the edges with Vintage Photo Distress ink on an ink Blending Tool.
Shape and assemble the flowers using tiny fasteners and metal Foliage. Don't forget the leaves.
My base card is 6 x 6 from dark blue Kraft Core. I sanded the edges and then tore a piece of dictionary page and adhered it down the left side of my card. After inking the edges of the Dragonfly piece with Distress ink I then matted the Dragonfly image, tied twine around the bottom with a bow and pop dotted to my card.
Now for the finishing touches. Matt the Imagine with some colors that match your dragonfly and pop dot this piece to the card. In the photo above you can see the detail of the Crackle Paint in the letters.
Add the flowers where you would like. I also added a few Min Gears and a tiny Game Spinner.
Love the vintage look of this card. I hope you will try some of these techniques for yourself.
Today is day one of Tim's online class Creative Chemistry 101. It is fabulous! Today Tim talked about the chemistry of the products we use.
It's not too late to join in on the fun.
Click
here to see the video and sign up.
Please leave a comment.
Thanks for your time!
Richele