Showing posts with label Distress Ink. Show all posts

Friday, May 30, 2025

Coloring with Distress Products - Tim Holtz - Ranger Ink

 Hello friends! I've been thinking about coloring with all the different Tim Holtz Distress products and how they look different. So I decided to do some experimenting and find out the differences of the products. After a few tests I realize my favorite way to color is not really my favorite. Let's get started. I stamped the same flower on to Distress Watercolor Cardstock and I also used the same colors and technique when coloring. This will be the truest test. 

Distress Products used....
Distress Watercolor Pencils
Distress Ink
Distress Oxide Ink
Distress Crayons
Distress Reinkers
Distress Spray Stain
Distress Oxide Sprays

Colors used.....
Picket Raspberry
Fossilized Amber
Mustard Seed
Mowed Lawn
Rustic Wilderness
Vintage Photo

Stamp your image with a waterproof ink like Archival Ink in Black Soot.
This Stamp set is CMS487 and it has several flowers that could be used. 

Distress Watercolor Pencils 
These have been a favorite since they came out. They are easy to use and give great results. I colored the image with the pencils and then blended with a waterbursh. Dry with a heat tool and then add more color where desired. I also splattered colors in the background for fun.
Findings - Easy to use and the results are great. They are a little chalky.
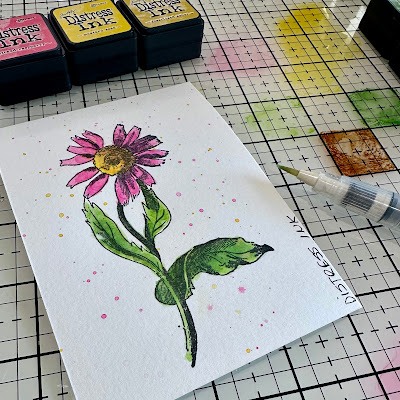
Distress Ink Pads
I applied the Inks to my Glass Mat and the picked up the color with the waterbrush. 
Findings - The color is not as strong as I like but it works well. 
You could add more layers for more intense color.

Distress Oxide Ink Pads
Apply the inks to your Glass Mat and pick them up with a waterbrush. Color as desired.
Findings - The Oxides are a softer look and covers the stamped image a little. 

Distress Crayons
Color the Crayons on to the Glass Mat and pick color up with the Waterbrush and color as desired.
Findings - I like the look of this and the color is vibrant. 

Distress Reinkers
Add 1-2 drops of reinkers to the Glass Mat and color with a Waterbrush as desired. 
I think this was my favorite!
Findings - The color is very vibrant and doesn't effect the stamped image. 


Distress Spray Stains
Take the dropper out of the bottle and tap a few drops on to the Glass Mat pick up color with the Waterbrush. Color as desired. 
Findings - Although the color is vibrant it a little watery and had a tendency to spread out side the stamped lines. Drying more often will help with this.  
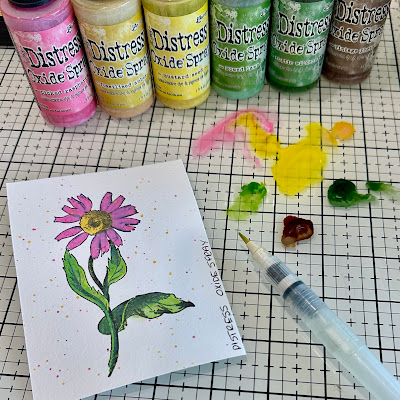
Distress Oxide Sprays
Take dropper out of the bottle and tap a few drops on to the Glass Mat, pick up color with the Waterbrush. Color as desired. 
Findings - The color is very chalky and covers the stamped image. you could go back and stamp the image again over the coloring. I do like the softness of the color. 

Here is a closer look. Some of the changes are very subtle but it's great information. I'm going to put them on a ring and keep them handy to reference the next time I color images. 

I hope you find the information helpful, I know I do! 

Thanks for stopping by! 
Richele 

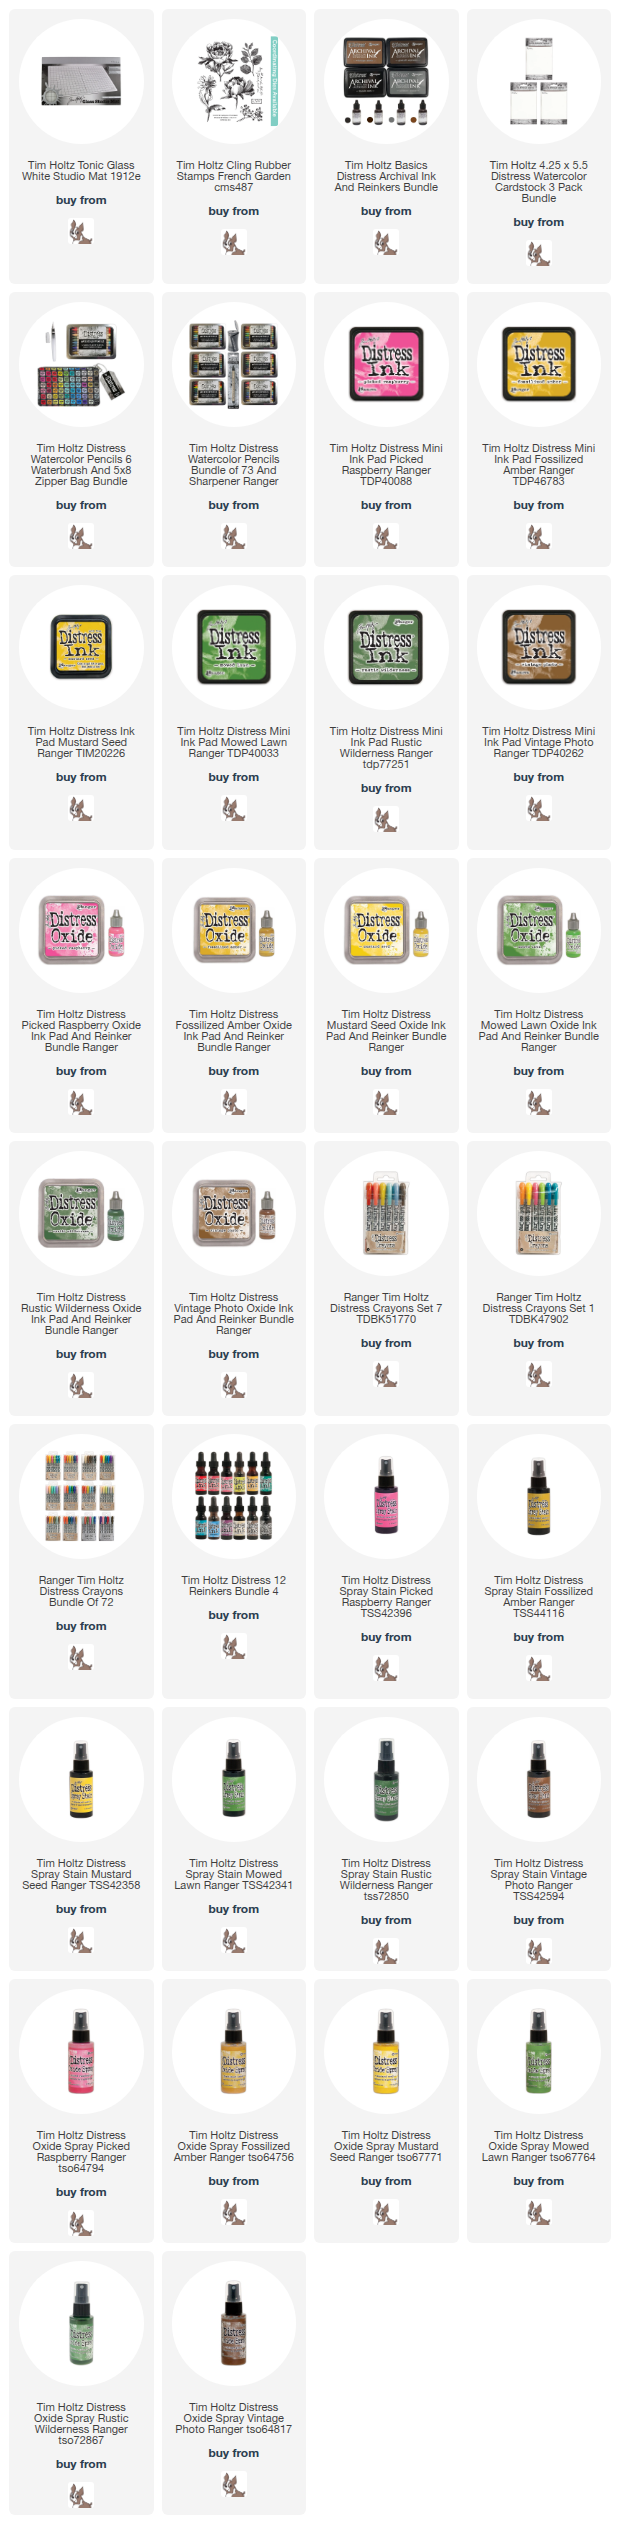
Products I used from Simon Says Stamp
Tuesday, August 25, 2020

Free to Imagine Card! New Tim Holtz Stamps

Hello friends! I'm back with a new card from the Stampers Anonymous fall release from Tim Holtz. I loved this stamp set the first time I laid eyes on it. The images are so beautifully detailed. If your didn't see the Tim Holtz Facebook Live video be sure to check it out, the cards and projects were stunning and so inspirational. 

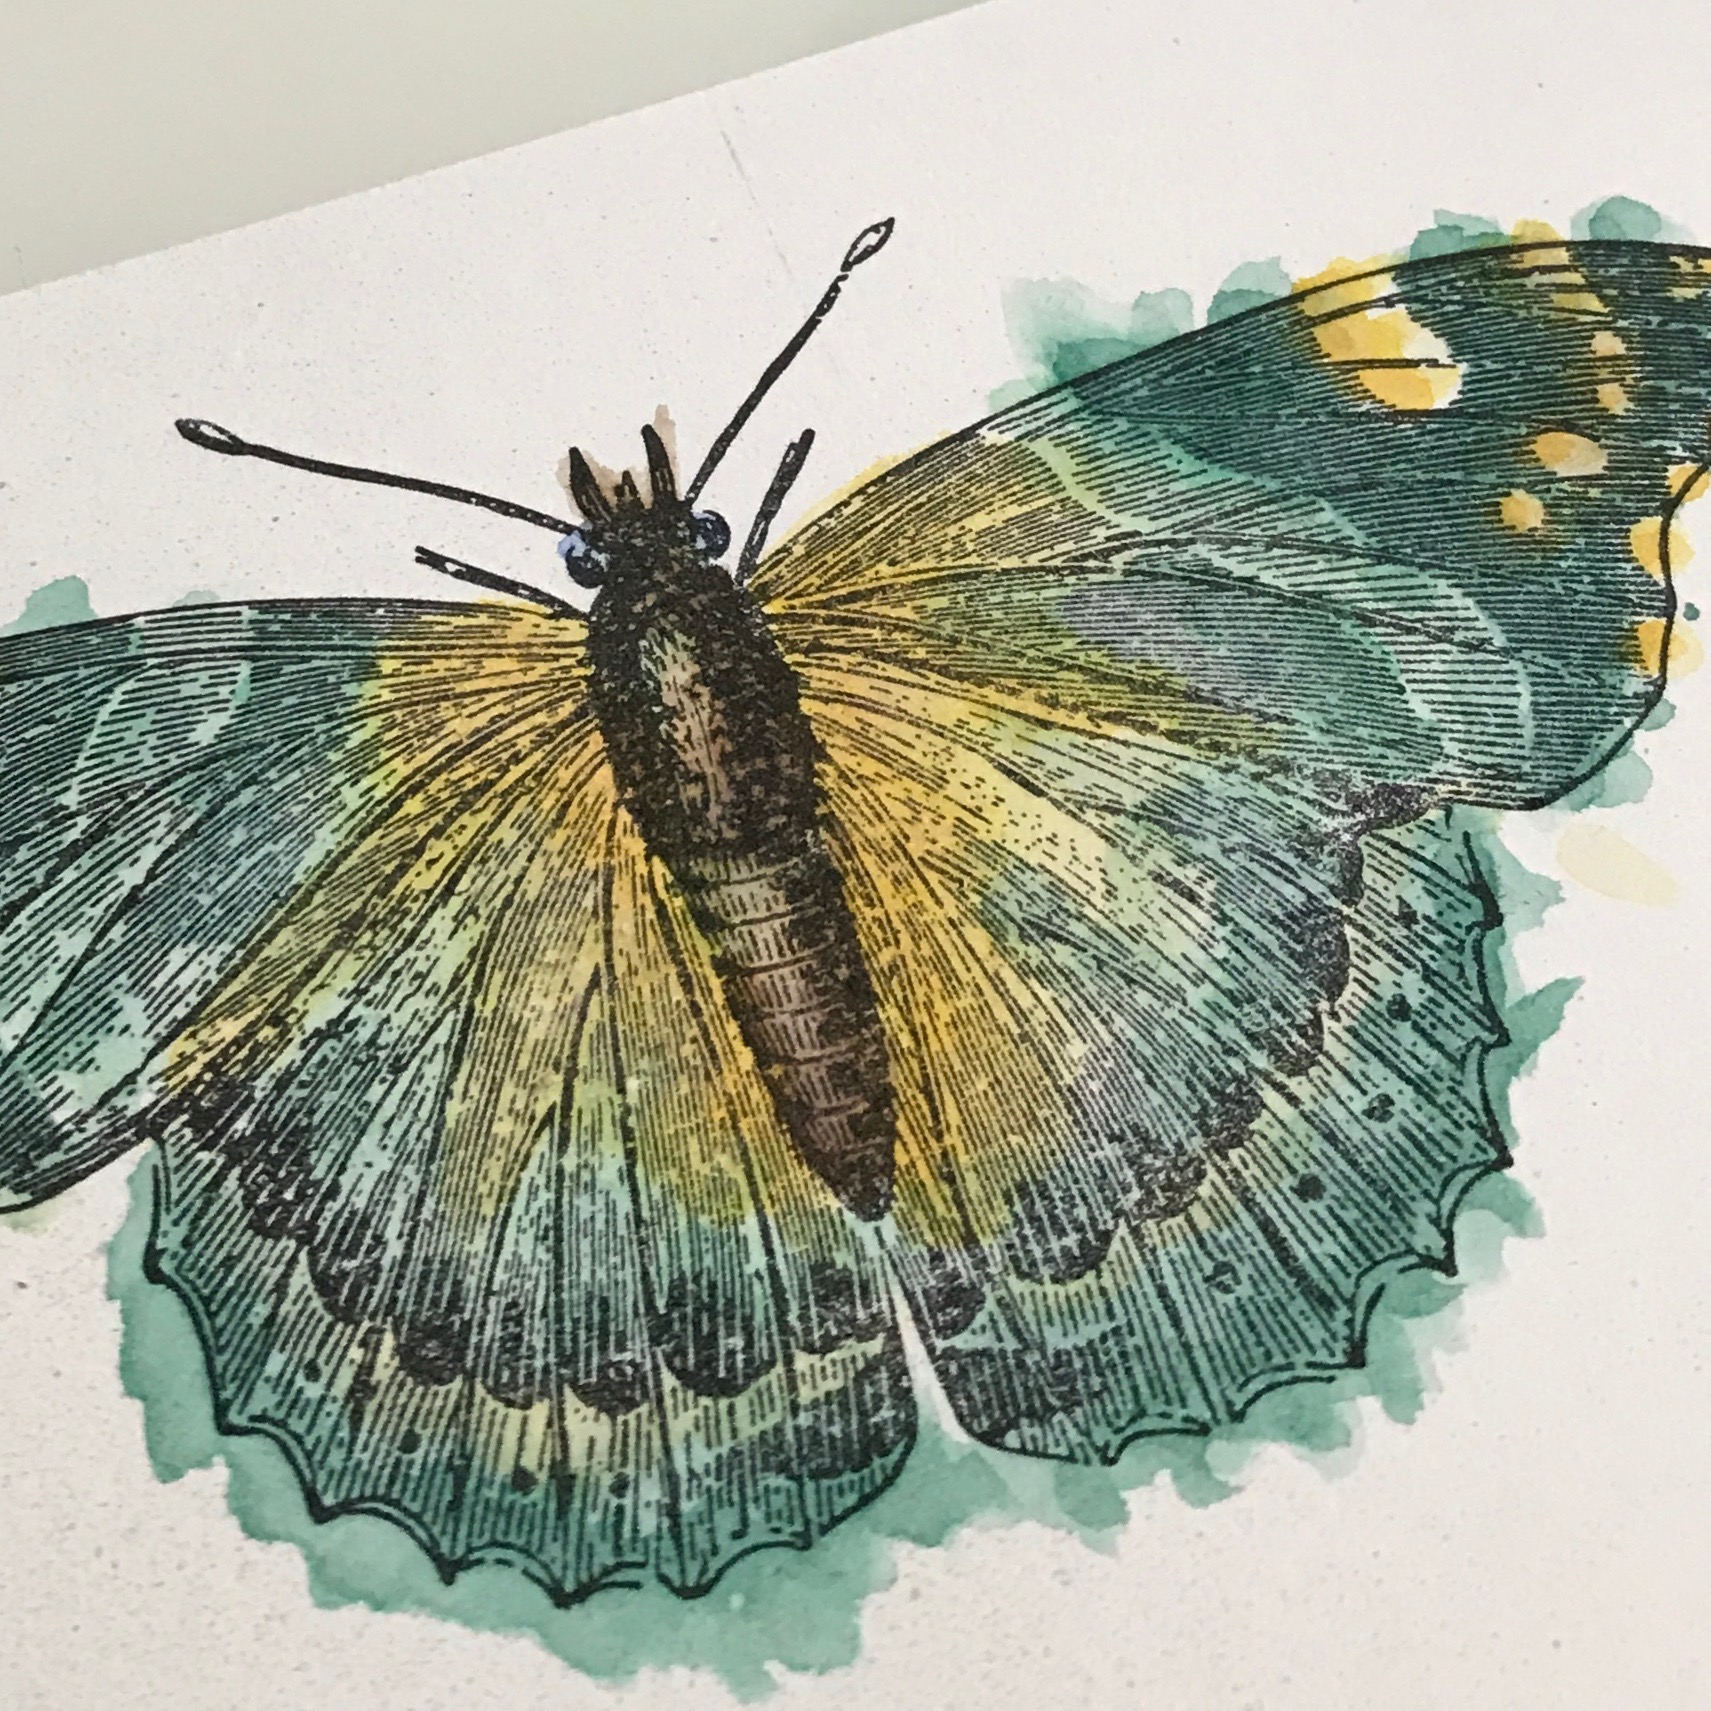
I really like all the textures this card has....the crackled texture paste, the script text in the background and of corse the beautiful butterfly. 

First I positioned my stencil on to Media Heavystock and taped it down with removable tape.   Next I forgot to take a picture but I added the Crackle Paste with a palette knife. TIP: When I put the Crackle Paste on I only swipe in one direction to help prevent seeping underneath the stencil. Next carefully remove the stencil and then set aside to air dry. 

Stamp butterfly with Black Soot Archival Ink on to Watercolor cardstock, (ink must be waterproof) Color with Distress Ink and a Waterbrush. 

Add color as desired layering as needed being sure to dry between layers. 

Once the Crackle Paste is dry spray with Distress Spray Stains and a little water to help the ink flow and blend, repeat as needed drying between layers. 

Adhere vintage lace as desired to 6 1/4" x 4 1/2" base card. 

Stamp background with a script stamp using Frayed Burlap Distress Ink. Layer with black cardstock and add stitching as desired. Sew a few buttons to the corner. Adhere background piece to card. Wrap twine around card and tie with a bow. 
Love the detail of the buttons sewn on the card and look at the yummy cracked texture. 

Cut out the butterfly with scissors. Adhere butterfly with foam tape on the outer portions of the wings and adhere body directly to card with Distress Collage Medium. 

Add the word "imagination" to the center of the butterfly and adhere with foam tape. 

Color the metal flower with Alcohol Pearl Inks and adhere to card at twine bow. 


Thanks so much for stopping by!
Richele

Check your local scrapbook store for all the supplies I used on this card 
or click on the links below and head over to Simon Says Stamp. 

Sunday, August 23, 2020

A Haunting We Will Go! Tim Holtz, Stampers Anonymous release!

Hello friends! I'm back today with a card using Stampers Anonymous set CMS408 Sketch Manor from Tim Holtz. Love this set comes with all the components to create the perfect Haunted Manor! 

Distress Oxide Sprays and Inks are perfect to create this night sky and full moon glow. 

Lets start with the Haunted Manor. Cut a piece of Woodgrain Cardstock 5 1/2" x 8 1/2". Spray a piece of Woodgrain Cardstock with Distress Oxide Sprays (Antique Linen, Frayed Burlap and Iced Spruce) then spritz with water to blend out the colors. Dry with a heat tool. 

Add more Distress Oxide Sprays (Iced Spruce and Walnut Stain) and spritz with water again and dry with heat tool.  

As the color is dried you will get a totally different color then you think. After the piece is completely dry run the piece through the Vagabond or die cut machine a few time to flatten out the Woodgrain Cardstock a little. 

Using a Stamp Platform Stamp the Haunted House with Black Soot Archival Ink (must be a waterproof ink). You will need to stamp a few times to layer the ink. Just look at how cool the woodgrain shows through! 

Add color with regular Distress Ink (Black Soot, Fossilized Amber, Wilted Violet) this way the ink is translucent. Apply the ink to your craft sheet and pick top with a water brush and color the windows and doors. 

Create the background for a slim line card by cutting Distress Media Heavystock to 3 3/4" x 8". Spray card with Distress Oxide Inks (Black Soot, Blueprint Sketch, Mustard Seed, Spiced Marmalade, Wilted Violet). Be sure to add water to help blend the colors, dry with heat tool. Repeat as necessary drying between layers. Splater some Black Soot Oxide Ink over the background as desired, dry with heat tool. 

Adhere Halloween Label Tape to card where desired. Add black stitching around the card leaving the ends of the thread. I like to use a combo of straight stitching and zigzag stitching and I try to stitch crooked. 

Add a little BOO! at the top using the Label Tape. Ink the edges of the card with Black Soot Oxide Ink and then adherer to base card. Base card size is 4 1/4" x 8 1/2" so it fits in a #10 envelope.  

Adhere the Haunted House with foam tape.  Stamp Happy Halloween on a scrap of Woodgrain Cardstock with Archival Ink., ink the edges with Distress Oxide in Black Soot. Adhere to card with foam tape adding a little dyed Mummy Cloth (Halloween Trimmings) under the message. 

Add a Tiny Clip to hold the BOO! on the card. 

Adhere Hardware Heads to the ends of the Halloween Label Tape using a little Distress Collage Medium. 

Love the added texture of the stitching. 

You can see how the woodgrain shows through and give the house kind of an eerie feeling.  

Cut a piece of cardstock for the inside and ink the edges with Black Soot Distress Oxide Ink and then  stamp the flying bats and  a message. 

Thanks so much for stopping in!
Richele

Check your local store or click on the link below to go to Simon Says Stamp!
 

Saturday, August 8, 2020

Hocus Pocus Wicked Vignette Tray - New Tim Holtz Idea-ology

 Hello friends! I absolutely LOVE halloween. I don't really remember much from when I was a little girl like what I dressed up as or my favorite cand, but now it's my favorite holiday and creating projects is always magical to me. The new release has some very spooktacular and fun things I know you're going to love. This is my favorite project that I created with the new Tim Holtz Idea-ology release. 

"Wicked Hocus Pocus "

Here is a peek.....so much spooky goodness, bones, bugs, pumpkins, skulls and more. 

The new Entomology Adornments are so creepy. I colored them with the Alcohol Pearls and I love the iridescent look.  

I altered the skulls by drilling out the eyes and inserted the lights so they would glow with the new purple Tiny Lights. 
The new mushrooms and the Paper Dolls have been colored with the Distress Glazes.

The new Departed Paper Stash has some amazing designs love this cracked wood finish on the outside of the box.  
I'll be teaching this project in an all day class soon, details to follow. I'll be back soon with another Halloween project. 

Thanks for stopping by!
Richele

Check your local store or find the new product by clicking on the link below. 

Thursday, December 14, 2017

Ranger Ink Blog Post - DIY Christmas Cards

Hi friends! I'm happy to have these cards over on the Ranger Ink blog featuring the DIY ink pad with Distress Oxide inks and the Carved Christmas stamps from Tim Holtz + Stampers Anonymous. The DIY Ink pad is perfect for making lots of cards fast. 

Check out all the details over on the Ranger Ink blog. 

Thanks so much for stopping by!
Richele

Friday, December 8, 2017

2017 Inspiration Series - Gift Card Package

Hello friends! Hard to believe Christmas is just a few weeks away...I'm so not ready. These Tim Holtz Gift Card Package are sure to be a big hit for the gift giving season. They are so fun and easy to create. 

Don't forget this set will be good all year long for birthday gifts, thank you, Mother's Day and Father's Day, I know I will be using this all the time!  

Die cut all the pieces from the Gift Card Package Thinlits Set. 

Carefully fold on all the score lines to create the package pocket. Adhere flap with Distress Collage Medium and let dry. 

Adhere the top piece of the package. 

Adhere the bow to the top of the package and the ribbon to the front of the envelope portion. 

Ink the edges with Distress Ink on a Mini Ink Blending Tool as desired.

Tie tag around the package with twine. 

Insert gift card under the half moon die cuts.

Now you're ready for the gift giving season. 

This wintery package in embossed and a little snowflake embellishment was added. 

Who doesn't love the Tag Press to create fun embellishments like this one. 

Remember don't open until December 25th! 
This die set is full of possibilities! 

Thanks so much for stopping by!
Richele