Monday, April 28, 2025

Distress Glazes with Distress Paste - Tim Holtz - Ranger Ink


Hello Friends! I had a chance to have some fun using the Tim Holtz Distress Glazes with Distress Paste. I wanted to see the difference and how the Glazes would react with the different Pastes. First up I always like to create a color chart so I can see the colors. You can download the charts on the Ranger Ink website HERE. Ranger Ink has color charts for the Tim Holtz products line along with stickers to add your  products. It's easy to download and print them on cardstock or sticker sheets. I LOVE being organized! Ranger Ink also offer the Storage Tins for many of Tim's products. 

Gather some supplies and let create together!
* Distress Glazes
*Distress Paste 
(Crackle, Texture and Grit Paste in both Opaque and Translucent)
*Palette Knife
*Mixed Media Heavystock 
*Layering Stencils
*Container of water to put your Stencils in 
*Embossing Tool / Heat Tool

Optional
*Spray Stains
*Stamps
*Archival Ink

To get started have all you materials ready to go. Find the colors of Distress Glaze you'd like to use and unscrew the lids. Have an area you can set you pieces off to the side so not to disturb them until they are dry and heat embossed. 

Tape down the Layering Stencil to a piece of Mixed Media Heavystock. Using a Palette Knife scoop out a little paste and spread through the stencil. Keep the Palette Knife at an angle and gentle scrap off any excess paste and return to the jar. Replace lid. Carefully remove stencil and place the stencil in a tray of water. (You can clean these later) 
TIP - It's important to keep the lid on when not in use as the product will dry out if too much air gets to it. 

Pinch a small amount of Glaze between your fingers and slowly move your fingers back and forth to sprinkle color on to the paste were desired. 
TIP - Start with the thiner portions of the design. Sometime the paste dries quickly in those areas and the Glaze won't stick. 

Continue to add color as desired. Shake off excess and set aside to air dry. 
TIP - Feel the back of the design and if it's cold it will need more dry time.
Do not rush the dry time by using a heat tool as the paste will bubble. 

Once the paste has dried heat emboss the powders until the Distress Glaze melts and turns glossy. 

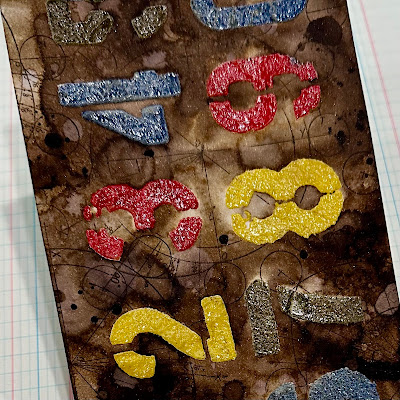
Here are the results of Distress Glaze on different Texture Paste. 
Once I heated the glaze I added some Spray Stain to the backgrounds, sorted with a heat tool then added a little stamping with Archival Ink. I love the dimensional look of using the Distress Glaze with Paste. 

Opaque Crackle Paste 

   Translucent Crackle Paste

Opaque Texture Paste 

   Translucent Texture Paste

Opaque Grit Paste

        Translucent Grit Paste 

I love the dimensional look of using the Distress Glaze with Paste. 
I hope you will try using Distress Glaze with Distress Texture Paste! 
Have fun experimenting!

Thanks for stopping by!
Richele
 

Tuesday, April 22, 2025

Hello Posy Quilt with Tim Holtz - Palette Fabrics

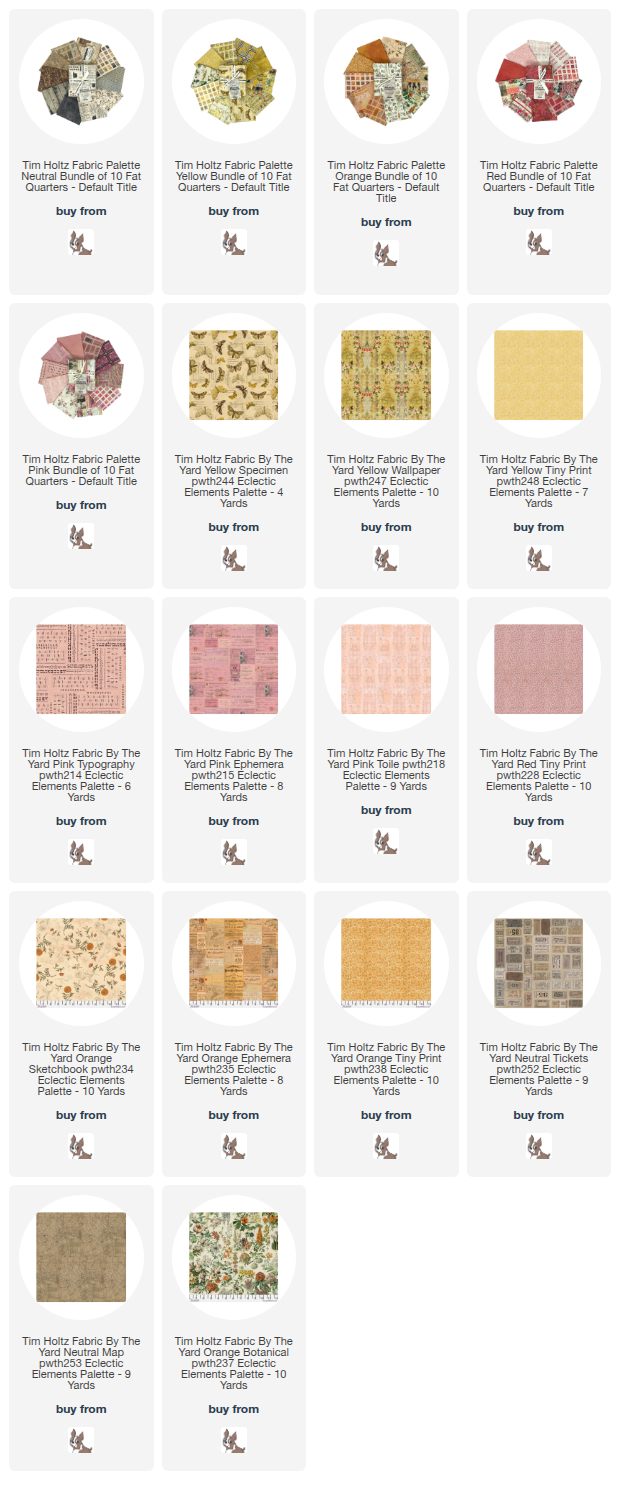
Hello friends! Today I have a beautiful quilt to share with you using the Tim Holtz Palette fabrics in pink, red, orange, yellow and neutral. The pattern I used is "Hello Posy Quilt" by Melanie Taylor, you can find the pattern here! The quilt was so fun to make and is Fat Quarter friendly you just need to add a background fabric and binding. This quilt would also be a good beginners quilt. 

"Hello Posy Quilt"

Fabric - Palette by Tim Holtz

I chose some of my favorite Palette Fabrics and cut all my pieces out for the quilt. I love how they all just go together. 


Next I started sewing to pieces together to make my blocks. The block came together pretty fast! 

25 blocks total and I pressed them before sewing them together. 

I love the simplicity of this block. Sew the blocks together for your quilt top and then layer your backing fabric, batting and the quilt top. 

Quilt as desired. I like the way this wavy stitch looks when its all done. Adds a lot of texture once you wash and dry it. 

Next up trim the edges of the quilt. 

I've decided to make a flange binding for fun. Sew the yellow and brown strips together 

The binding is super fun with the two colors. I'll be doing this again! 


Here is the backing! it's great that FreeSpirit Fabric is making the wide back at 108" perfect for the back of a quilt. 

I hope you will make something with the Palette Fabrics by Tim Holtz. 
There is so much to love!

Thanks for stopping by! 
Richele

Here's all the fabrics I used from Simon Says Stamp...

Tuesday, April 15, 2025

Drawstring Bag - Palette - Neutral by Tim Holtz

Hello friends! I'm so excited to be back on the Simon Say Blog with this fun project using the Palette fabrics in Neutral. These fabric by TIM HOLTZ for FreeSpirit Fabrics have been so fun to work with. See all the details at Simon Says Stamp's blog.  

Won't these make great bags for gifts, makeup, snacks, supplies and so much more.  

See all the fabrics here

Thanks so much for stopping by!
Richele


Tuesday, April 8, 2025

CrisCross Pillow - Palette NEUTRAL by Tim Holtz

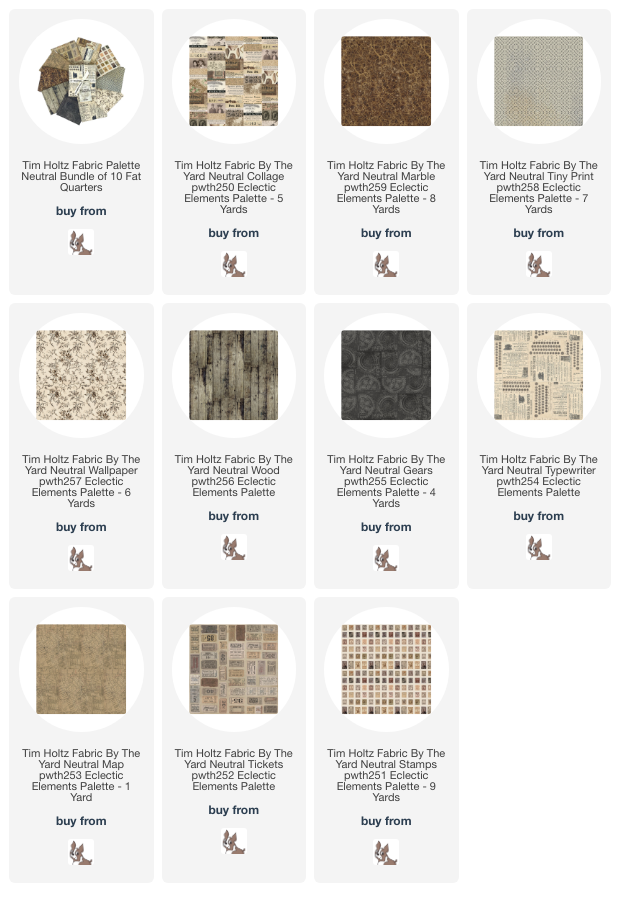
Hello friends! Meet PALETTE-NEUTRAL designed by Tim Holtz for FreeSpirit Fabrics. To be honest I wasn't all that excited about the Neutral collection after working with the Pink, Red, Orange and Yellow until I started working with it. The Neutral tones are beautiful and I think my favorite is the Gears. I love how this pillow has a contemporary look. It also looks great on my couch so I may need to make another one. The front of the pillow is Fat Quarter friendly, just add 1 yard of fabric for the back of the pillow. 

CrisCross Pillow - 18" x 18"
Fabric - Palette NEUTRAL


INSTRUCTIONS

Cut strips 2 1/2" then cut into squares 2 1/2" x 2 1/2". 
Cut 10-12 squares from all 10 fabric designs. 

        
Lay out squares in overlapping crosses as shown above. 
Layout should be 9 squares x 9 squares for a pillow size of 18" x 18". 
Sew rows together and the sew the rows together using a 1/4" seam allowance. 

Create a quilt sandwich with a piece of fabric wrong side up, then quilt batting and then the sewn squares right side up. Bast layers together (I like to use spray bast but you could pin it as well) 
Quilt the layer together as desired. I used a 1/2' spacing of vertical lines called match stitch quilting. 

Trim edges with a 1/4" boarder on all sides. 

    
Pipping is always a nice touch but you could make the pillow without. 
You can find great video tutorials on Pinterest if you want to create pipping. 
 Optional - Create pipping for the edge of the pillow. 
Cut bias strips from the Gears fabric. 
Sew the cording in the bias strip and stitch close to cording using a zipper foot. 
Pin the cording lining up the edge with the edge of the pillow. 
Create 2 fabric pieces to overlap on the back of the pillow. 
Sew around the pillow 1/2' from outer edge. 
Turn right side out and your pillow cover is complete. 
Insert pillow and enjoy. I really like to pillow inserts at Ikea (I used the 20" x 20" pillow). 


Thanks so much for stopping by!
Richele 

See the Palette - Neutral Collection here!