Showing posts with label Texture Paste. Show all posts

Monday, April 28, 2025

Distress Glazes with Distress Paste - Tim Holtz - Ranger Ink


Hello Friends! I had a chance to have some fun using the Tim Holtz Distress Glazes with Distress Paste. I wanted to see the difference and how the Glazes would react with the different Pastes. First up I always like to create a color chart so I can see the colors. You can download the charts on the Ranger Ink website HERE. Ranger Ink has color charts for the Tim Holtz products line along with stickers to add your  products. It's easy to download and print them on cardstock or sticker sheets. I LOVE being organized! Ranger Ink also offer the Storage Tins for many of Tim's products. 

Gather some supplies and let create together!
* Distress Glazes
*Distress Paste 
(Crackle, Texture and Grit Paste in both Opaque and Translucent)
*Palette Knife
*Mixed Media Heavystock 
*Layering Stencils
*Container of water to put your Stencils in 
*Embossing Tool / Heat Tool

Optional
*Spray Stains
*Stamps
*Archival Ink

To get started have all you materials ready to go. Find the colors of Distress Glaze you'd like to use and unscrew the lids. Have an area you can set you pieces off to the side so not to disturb them until they are dry and heat embossed. 

Tape down the Layering Stencil to a piece of Mixed Media Heavystock. Using a Palette Knife scoop out a little paste and spread through the stencil. Keep the Palette Knife at an angle and gentle scrap off any excess paste and return to the jar. Replace lid. Carefully remove stencil and place the stencil in a tray of water. (You can clean these later) 
TIP - It's important to keep the lid on when not in use as the product will dry out if too much air gets to it. 

Pinch a small amount of Glaze between your fingers and slowly move your fingers back and forth to sprinkle color on to the paste were desired. 
TIP - Start with the thiner portions of the design. Sometime the paste dries quickly in those areas and the Glaze won't stick. 

Continue to add color as desired. Shake off excess and set aside to air dry. 
TIP - Feel the back of the design and if it's cold it will need more dry time.
Do not rush the dry time by using a heat tool as the paste will bubble. 

Once the paste has dried heat emboss the powders until the Distress Glaze melts and turns glossy. 

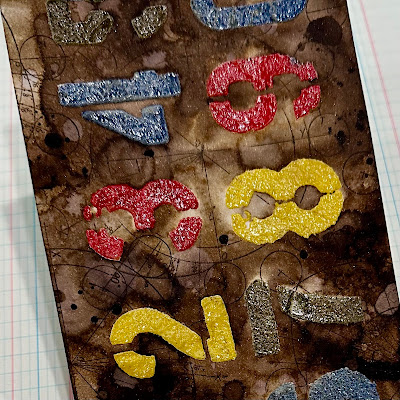
Here are the results of Distress Glaze on different Texture Paste. 
Once I heated the glaze I added some Spray Stain to the backgrounds, sorted with a heat tool then added a little stamping with Archival Ink. I love the dimensional look of using the Distress Glaze with Paste. 

Opaque Crackle Paste 

   Translucent Crackle Paste

Opaque Texture Paste 

   Translucent Texture Paste

Opaque Grit Paste

        Translucent Grit Paste 

I love the dimensional look of using the Distress Glaze with Paste. 
I hope you will try using Distress Glaze with Distress Texture Paste! 
Have fun experimenting!

Thanks for stopping by!
Richele

 

Tuesday, August 25, 2020

Free to Imagine Card! New Tim Holtz Stamps

Hello friends! I'm back with a new card from the Stampers Anonymous fall release from Tim Holtz. I loved this stamp set the first time I laid eyes on it. The images are so beautifully detailed. If your didn't see the Tim Holtz Facebook Live video be sure to check it out, the cards and projects were stunning and so inspirational. 

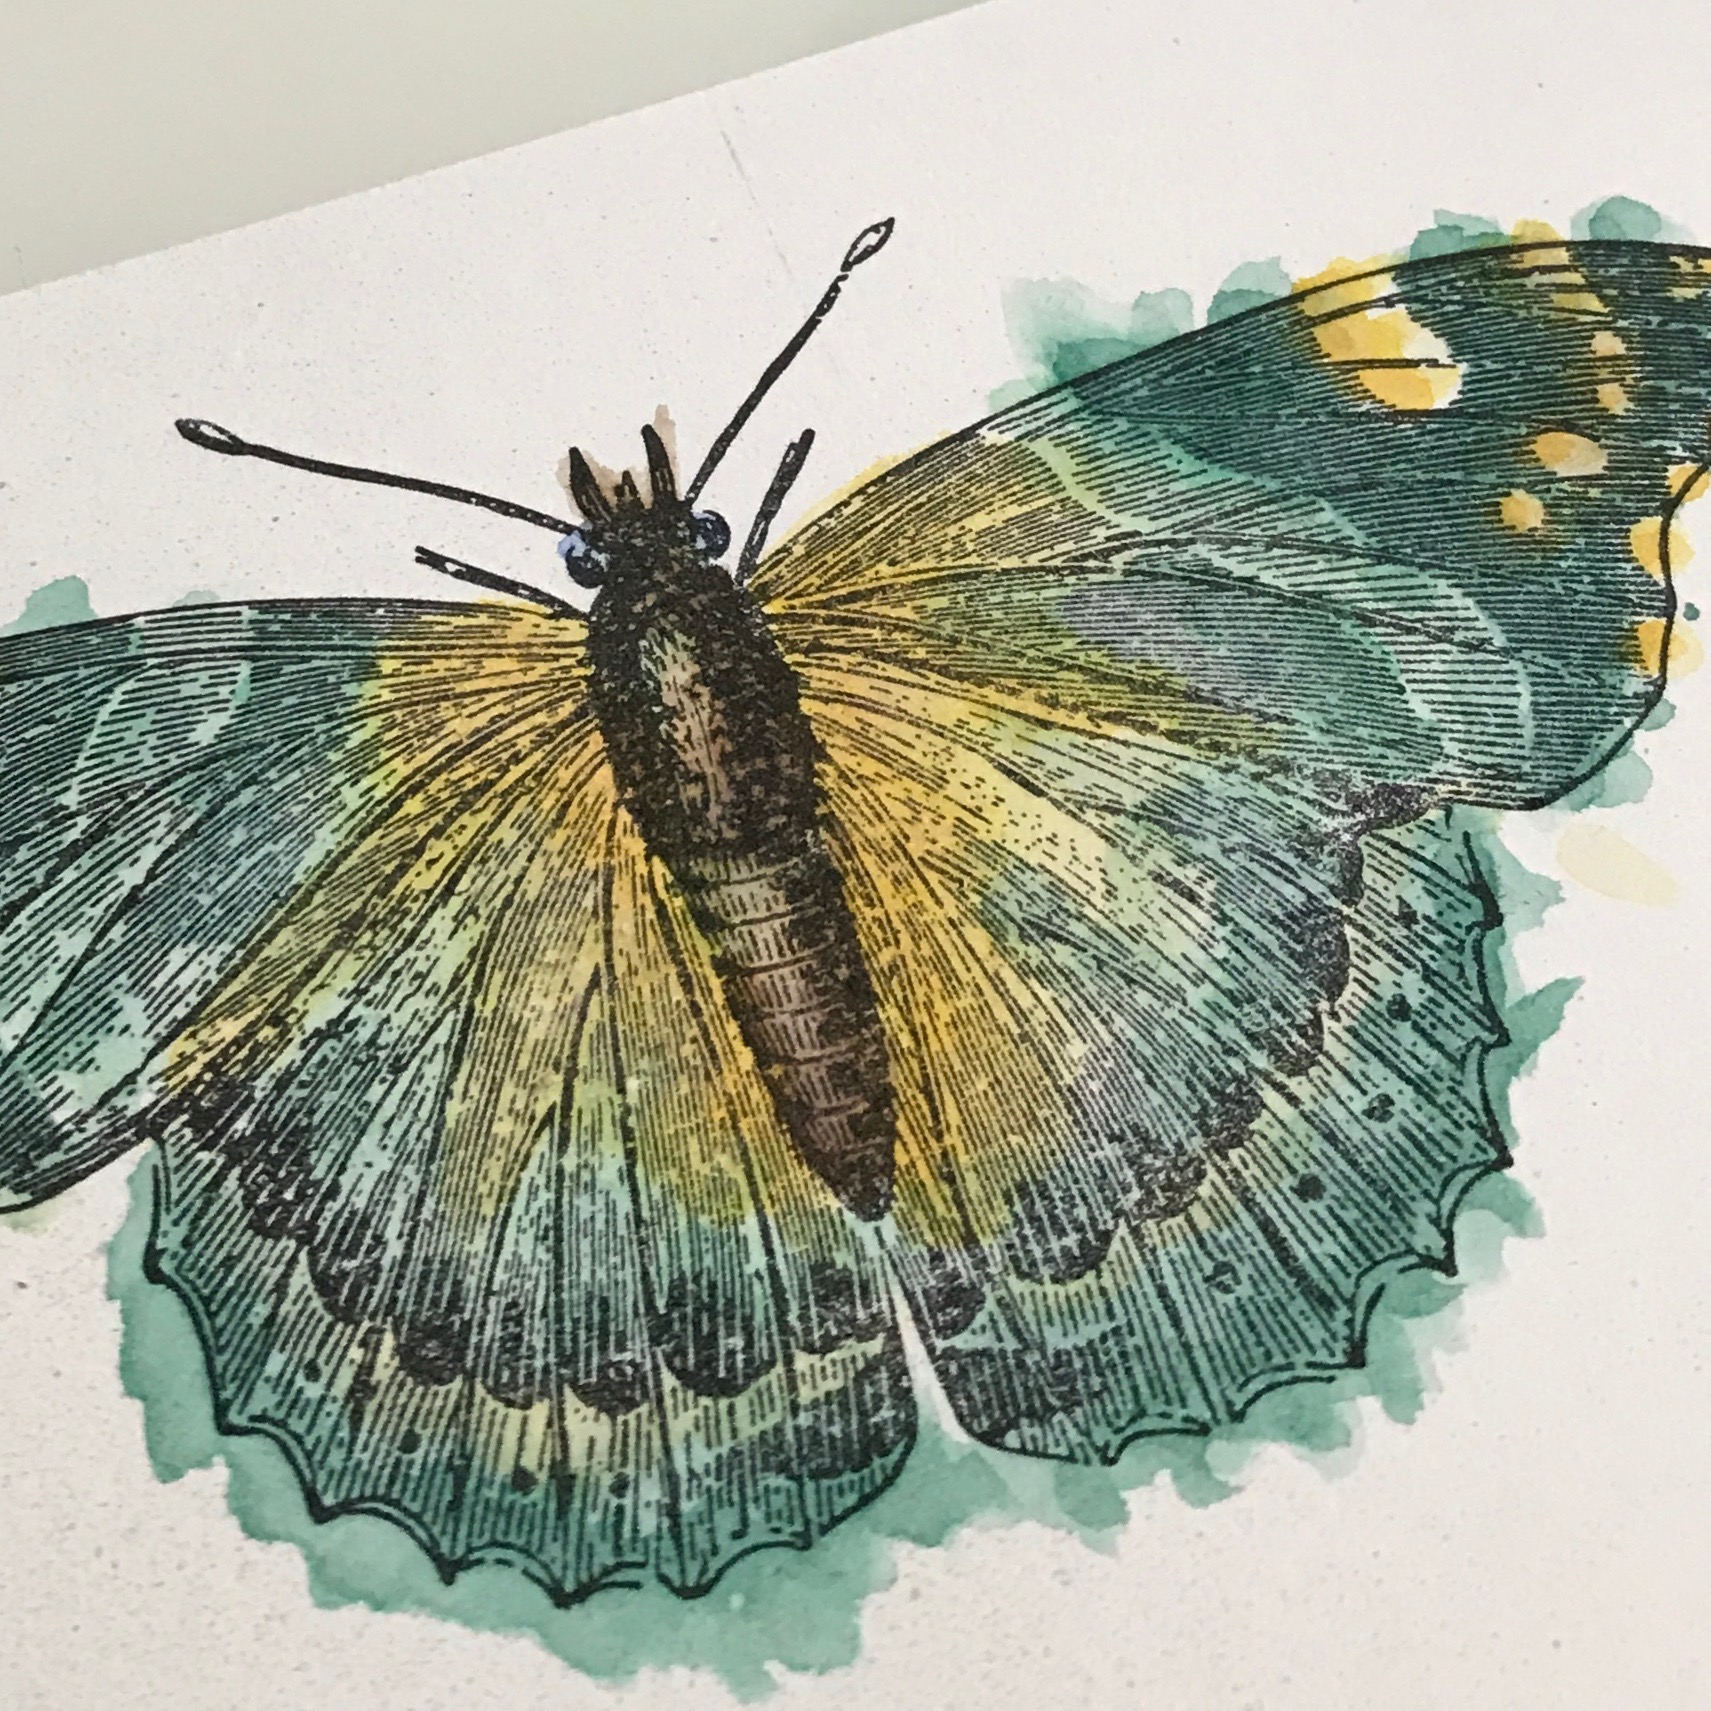
I really like all the textures this card has....the crackled texture paste, the script text in the background and of corse the beautiful butterfly. 

First I positioned my stencil on to Media Heavystock and taped it down with removable tape.   Next I forgot to take a picture but I added the Crackle Paste with a palette knife. TIP: When I put the Crackle Paste on I only swipe in one direction to help prevent seeping underneath the stencil. Next carefully remove the stencil and then set aside to air dry. 

Stamp butterfly with Black Soot Archival Ink on to Watercolor cardstock, (ink must be waterproof) Color with Distress Ink and a Waterbrush. 

Add color as desired layering as needed being sure to dry between layers. 

Once the Crackle Paste is dry spray with Distress Spray Stains and a little water to help the ink flow and blend, repeat as needed drying between layers. 

Adhere vintage lace as desired to 6 1/4" x 4 1/2" base card. 

Stamp background with a script stamp using Frayed Burlap Distress Ink. Layer with black cardstock and add stitching as desired. Sew a few buttons to the corner. Adhere background piece to card. Wrap twine around card and tie with a bow. 

Love the detail of the buttons sewn on the card and look at the yummy cracked texture. 

Cut out the butterfly with scissors. Adhere butterfly with foam tape on the outer portions of the wings and adhere body directly to card with Distress Collage Medium. 

Add the word "imagination" to the center of the butterfly and adhere with foam tape. 

Color the metal flower with Alcohol Pearl Inks and adhere to card at twine bow. 


Thanks so much for stopping by!
Richele
Check your local scrapbook store for all the supplies I used on this card 
or click on the links below and head over to Simon Says Stamp. 

Sunday, February 21, 2016

12 Tags of 2016 - February

Hello friends! Hope you all had a fantastic weekend. Del and I had a busy one hanging out with our Grandkids and spending some time outside. I love spring! The weather was beautiful here. I even have daffodils and tulips coming up in the yard. 

Several days ago I had a chance to play with a friend and we decided to make the February Tag. Love that Tim Holtz is doing the Technique Remix and revisiting some of the great techniques from past post. 

I always start with a quick look at the blog post for the tag. The instructions are awesome with step by step photos that are super easy to understand and follow. Then I gathered up some supplies and we were off and running (creating). 

Here are the tags Wanda and I made. It's always more FUN to craft with a friend! 


 I really loved the mono printing and the gold embossing techniques for the background.

I hope you will join in and create your own version of the February Tag of 2016! 
You know there is prizes involved if you win! 
Just upload your tag on to Tim's blog before the end of February. 
Here's the link to get over to Tim's post

Thanks for stopping by and I hope you have an AWESOME week! 
Richele

Tuesday, December 1, 2015

12 Tags of 2015 / Holiday Card Series - March Inspiration

Hello friends! It's hard to believe it's the first of December already! 
I can't wait to see the new tag Tim makes this month. 
Love all the inspiration that comes from the tags each month.

Tim's 12 Tags of 2015 for March is the inspiration for this card. 
Distress Paint and Design Tape are used for the background. So fun with all the colors and the Design Tape peeking through. The use of Embossing Powder with Texture Paste is very cool looking and gives a lot of dimension. 

12 Tags of 2015 - March
Find all the details on how to do these techniques over on the Tim Holtz blog.

Background: Fired Brick, Festive Berries, Fossilized Amber, Twisted Citron, Peeled Paint Distress Paint, Design Tape - Yuletide, Texture Paste w/Gold Embossing Powder 
Tree: Jet Black Archival Ink and Clear Embossing Powder
Embellishments: Mirrored Star, Adornments - Snowflakes, WordBands - Christmas


The Snowflake Adornments and Christmas Word Bands add a special touch to the card.

Thanks so much for dropping in! 
Richele

Here's the products I used for my card.