Tuesday, August 28, 2018

Skeleton Leaves Discover Card

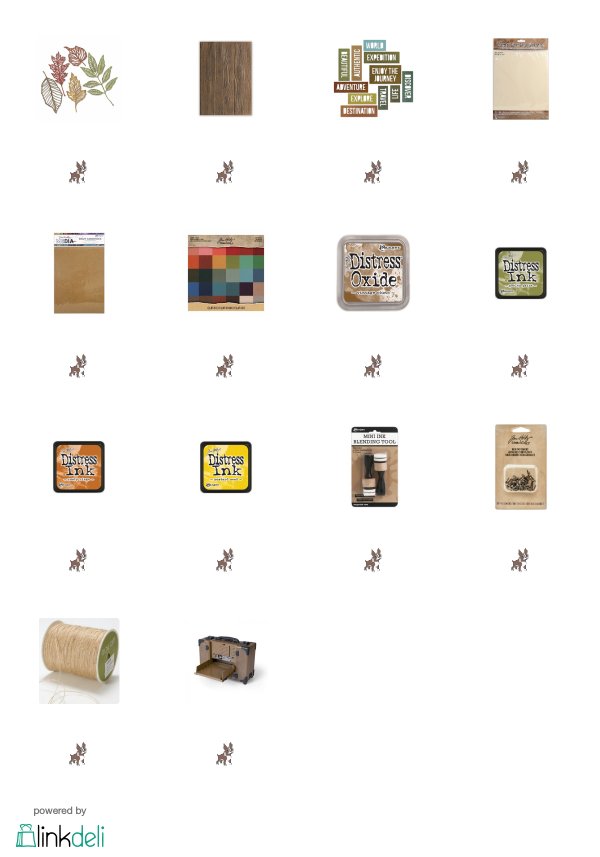
Hello friends! I'm back with a fall card using a few dies from the Sizzix Alterations line by Tim Holtz. The Sizzix Thinlits Skeleton Leaves Die Set is so delicate and it looks great with the 3-D Lumber Texture Fade for the background.  

 
I love all the different textures on this card and how quickly it all came together. 

Cut a piece of Kraft cardstock 4" x 5 1/4" and position the Stacked Deckle die in the center and die cut through the Vagabond. Use a low tack tape to tape the die in position. 

Spritz cardstock with water and emboss with the 3-D Lumber Texture Fade. Don't forget to only use one cutting pad as this folder is extra think. 
   
 
Ink the center lumber piece with Vintage Photo Distress Oxide Ink using a direct to paper technique. 

Cut dark brown Kraftstock a little larger then both of the Lumber pieces. Ink the edges of  the layers with Vintage Photo Distress Ink on an Ink Blending Tool.

Color leaves with Distress Ink on an Ink Blending Tool. 


Die cut the word DISCOVER from the Adventure Words Thinlits set using a strip of Heavystock and a piece of rust Kraftstock. Lightly ink the edges with Rusty Hinge Distress Ink on an Ink Blending Tool. Cut a flag shape on the left end and stitch on the edges as desired. Adhere vintage dictionary print behind the word. 

Adhere pieces together. Use foam tape to adhere the smaller lumber piece and the Discover strip. Tie a bow with twine and adhere with Collage Medium over leaves. Adhere Nail Heads. 

How do you like the rustic look of the Lumber with the delicate leaves?

Thanks so much for stopping by. 
Richele

Sunday, August 26, 2018

Together Burlap Panel - Simon Says Stamp Guest

Hello Friends! I'm honored to be a guest over on the Simon Says Blog today with a fun decor project. This project features the new Funky Foliage Thinlits set from Sizzix.

Head over to see the full tutorial!
 What will you make with this beautiful die set? 

Thanks for stopping by!
Richele

Wednesday, August 22, 2018

Sense of Wonder Fall Card - Stampers Anonymous fall release

Hello friends! The weather here has been so warm lately and I'm so looking forward to fall and cooler days. I love fall, it's my favorite time of year! My card today features the new Stampers Anonymous Nature's Wonder stamp set by Tim Holtz and the new Ranger Lift Ink. 

Love the textures on this card created by the stamping in the background, the ribbon, flowers and leaves.

Cut Watercolor cardstock for the background of your card, positions stamps over background and pick up stamps with a block. 

Drip Alcohol Inks on a piece of Yupo paper. 

Add Blending Solution to to felt pad and punch over the surface to blend inks. 

Ink stamp with Lift Ink and stamp leaves on to Yupo background then stamp the lifted ink on to Watercolor Cardstock. Blot off the image on the Yupo then buff off the extra ink with a soft cloth. 

Apply Distress Markers directly to Media Mat, pick up ink with waterbrush and color leaves. The Lift Ink is waterproof and will not run. Dry with a heat tool. 

Apply Distress Micro Glaze to the leaves.The Distress Micro Glaze will act as a resist so the leaves will not take the ink. Stamp background with Craze stamp using Old Paper Distress Ink, add Distress Ink to the background using a blending tool and spray background with Distress Mica Spray in Tarnished Brass. I also flicked the Mica Spray over the background to create some spots. Blot of leaves as necessary. 

Spray ribbon and flowers with Distress Spray Stain and Distress Mica Spray, add a little water to help the ink spread, dry with a heat tool scrunching ribbon as it dries. 

Cut out leaves from Yupo paper with scissors. 

Carefully heat the Yupo leaves with a heat tool, using tweezers shape the leaves as they become pliable to create dimension. 

Create mat a little larger then background with rust cardstock, add stitching as desired. Assemble card adding Textured Surfaces and vintage dictionary print on base card. 

Tie ribbon around card with a bow, add flowers and leaves adhering them with Distress Collage Medium and foam tape. 

Stamp message with Archival Ink cut close to words and add to Ornate Plate. Adhere Ornate Plate to card with foam tape over the Wood Plank. 

Love the colors of the leaves that signify the changing of the season. 

Thanks for stopping in! 
Richele

Click on the link below to head over to Simon Says Stamp!

Saturday, August 11, 2018

Mr. Pumpkin Head.... Tim Holtz Fall Release 2018

Hello friends! It's been a busy week here getting ready for all the Tim Holtz 2018 fall releases. Tim's new Stampers Anonymous release is AMAZING! Check out Mr. Pumpkin Head and the new Shifter Layering Stencils. 

To create this ghoulish card I used both stamps from the Stampers Anonymous Inventor 4  set. A little masking is required to get the pumpkin just right on the skeleton body.  

The background was created with the new Shifter Mini Layering Stencils from set #36. The harlequin was the perfect backdrop for my card using a combo of Hickory Smoke and Antique Linen Distress Oxide Inks. The Trick or Treat message is from the Mr. Bones set and was stamped with Jet Black Archival Ink and Ripe Persimmon Oxide Ink to create a little sign for Mr. Pumpkin Head to hold. 

The pumpkin was colored with Distress Markers and a waterbrush. I also added a little stitching around the card because stitching is always good don't you think?!  

Thanks so much for stopping by! 
Richele

Here's all the goodies I used for Mr. Pumpkin Head!